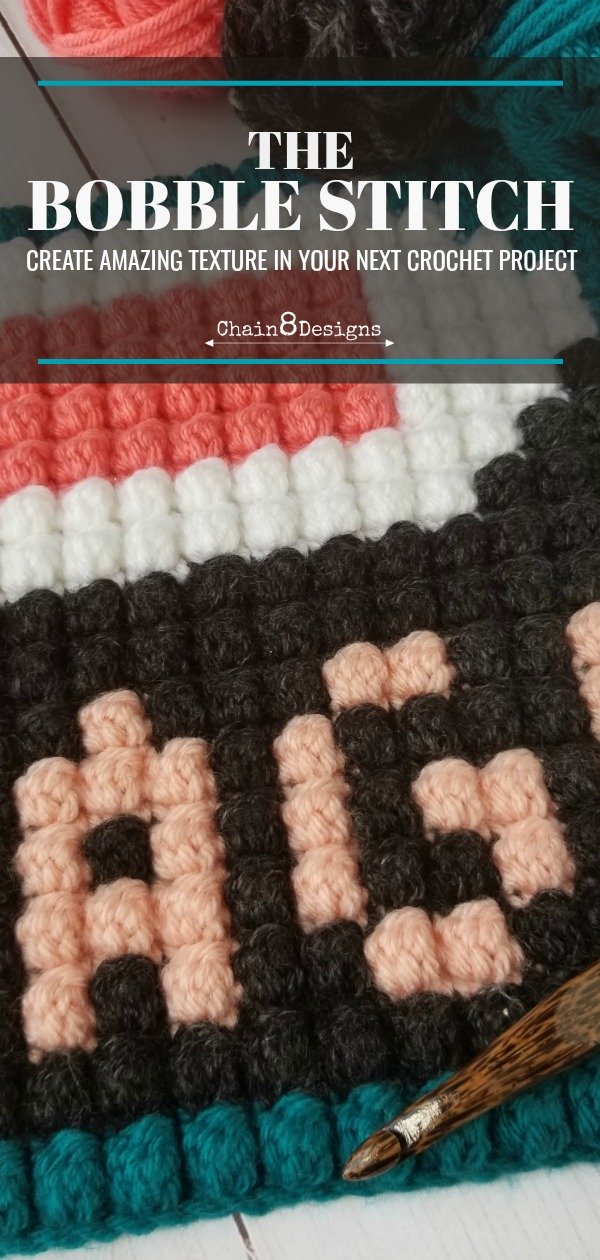
Looking to add texture to your next crochet project? Then this bobble stitch tutorial is just what you’re looking for.
If you’re looking for a stitch that will give you a lot of texture, the bobble stitch has it in spades.
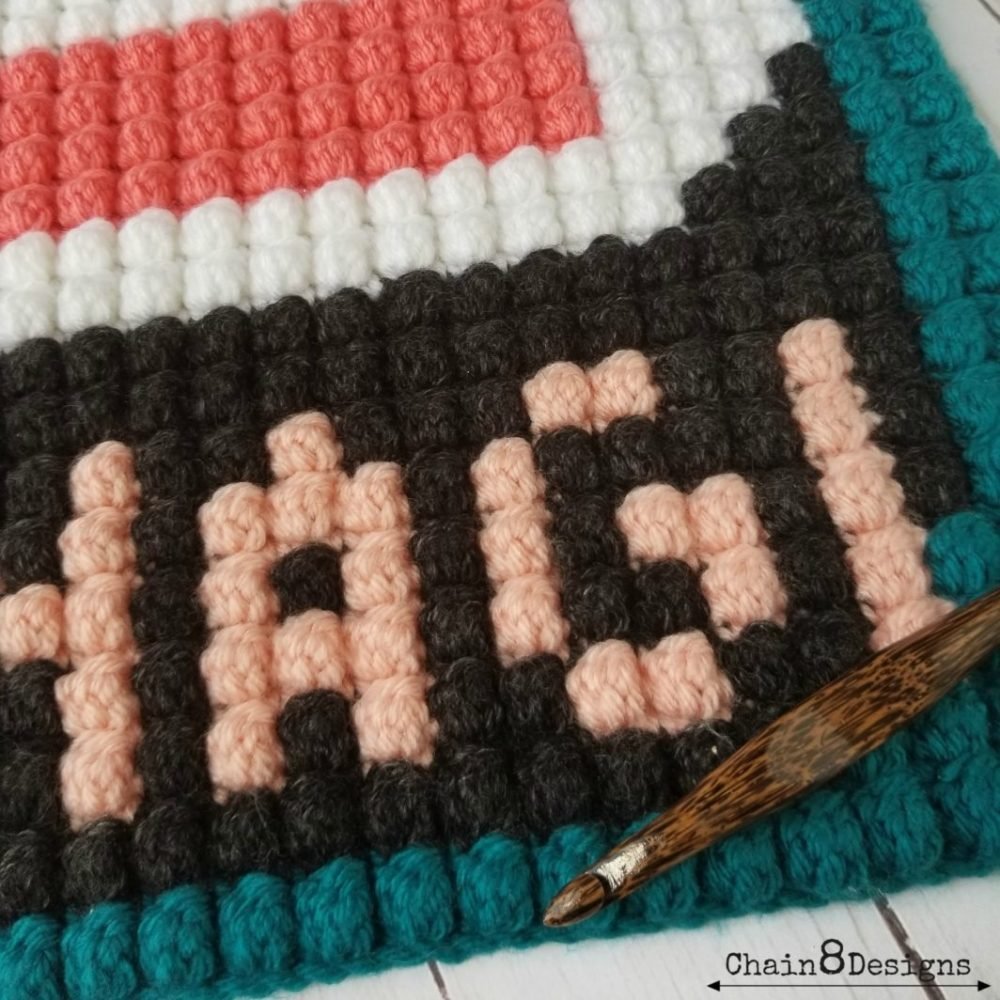
This is one of my favorite stitches to work with and is a great “fancy” stitch for beginners. While the stitch is a yarn eater, I think it is worth it for its beautiful nubby texture.
The nature of the stitch lends itself perfectly to doing graph work, lettering, etc. Below you will learn how to construct this puffy little stitch and how to change colors so you can also create beautiful projects like the ones below.
Now let’s get started…
NOT READY TO MAKE BOBBLES JUST YET?
PIN FOR LATER!
SINGLE COLOR BOBBLES
A little about the bobble stitch
While a bobble stitch looks like one stitch it is really made up of four stitches on two separate rows.
Row #1: Single Crochet Row & Row #2: Bobble Row Stitches: The Double Crochet Bobble Stitch & Single Crochet
The bobble stitch itself is a group of double crochets worked in the same stitch. It is the single crochet that follows in the next stitch that creates the puffiness of the stitch. Bobble stitches are always worked on the back or wrong side of your project. The single crochet that follows the bobble helps push the bobble towards the front.
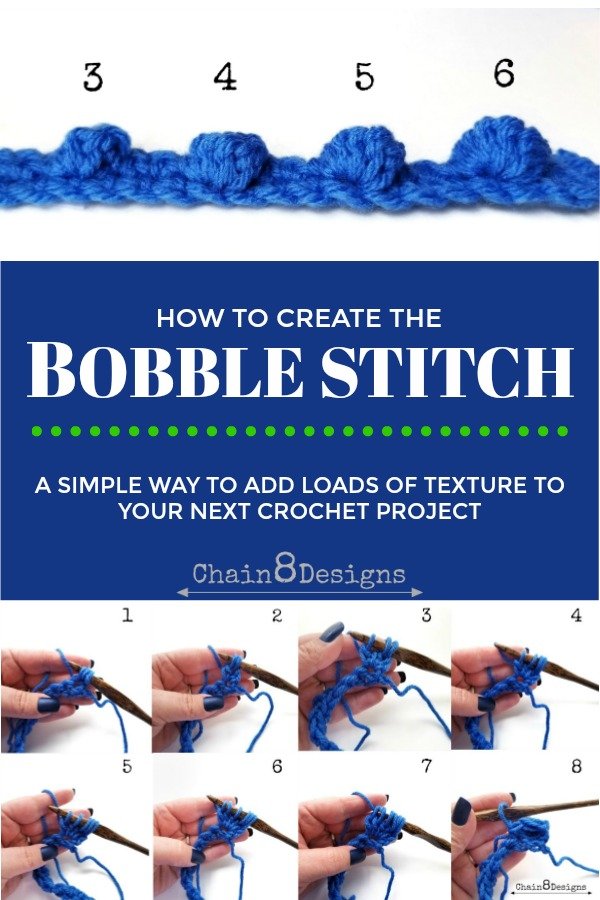
Bobbles can be made with either three, four, five, (and if you really want some texture) six double crochet bobbles.
I really wouldn’t advise going above a six as there isn’t enough room to fit much more in your single crochet from the previous row. Most patterns that I see call for either three, four or five double crochet bobbles. As I said before, this stitch is a yarn eater so the higher the number of double crochets the more yarn you will need.
Here is an example of each.
I think the easiest way to learn a new stitch is by actually making the stitch, so let’s work up a row of completed bobbles so you can get a feel for the stitch.
Remember that each bobble is made up of two stitches or two separate rows so we will start by chaining any multiple of two plus one extra for turning.
Here I have done 20 + 1 = 21 chains. This will give us 10 total bobbles.
Start by single crocheting into the second chain from the hook; continue single crocheting the rest of the chain; chain one and turn. Now you have 20 single crochets. This is your SINGLE CROCHET ROW.
Now we can start working on our BOBBLE ROW.
(Note: We’ll be doing a five [5] double crochet bobble.)
Yarn over and insert hook into the first stitch, draw through a loop (you’ll have three loops on your hook) [pic 1]; yarn over and pull through two loops on your hook (two loops left on hook) [pic 2].
Yarn over and insert your hook back into the same stitch and draw through a loop; yarn over and pull through two loops on your hook (three loops left on your hook) [pic 3].
Yarn over and insert your hook back into the same stitch and draw through a loop; yarn over and pull through two loops on your hook (four loops left on your hook) [pic 4].
Yarn over and insert your hook back into the same stitch and draw through a loop; yarn over and pull through two loops on your hook (five loops left on your hook) [pic 5].
Yarn over and insert your hook back into the same stitch and draw through a loop; yarn over and pull through two loops on your hook (six loops left on your hook) [pic 6].
Yarn over and pull through all six loops [pic 7].
Single crochet in the next stitch [pic 8].
When you get to the point where you pull through all loops, you will always have one loop more than the number of the bobble you want (i.e. 6 for a 5 DC Bobble, 5 for a 4 DC Bobble, etc.).
Now that you have completed your first bobble, keep alternating between bobbles and single crochets till you get to the end; chain one; turn.
Ta-dah…you have completed your first bobble row!
Now keep switching between single crochet rows and bobble rows till you feel that you have the stitch down.
COLOR CHANGING IN BOBBLES
Now that you have mastered how to do a single-color bobble, we can move on to changing colors. Once you get the hang of color changing you open yourself up to a vast array of project possibilities. Because the stitch is made up of a single crochet row and a bobble row, you need do your color changes for each bobble on both rows.
Here I have worked up a little pattern for us to follow along with…
We will be working the chart from bottom to top and right to left (starting at box 1/1). Each square represents one completed bobble stitch (single crochet and bobble rows). Remember that each bobble stitch is made up of a bobble and a single crochet stitch, so you will need to chain two stitches for every one bobble on the chart, plus one extra chain for turning.
For this example, we will be chaining 15 (7×2=14, 14+1=15) [pic 1].
Because your first row is all purple you will work this row as you did for the single color bobbles in the first section.
Single crochet into the second chain from your hook and the remaining 13 stitches; chain one and turn [pic 2].
Complete your row of purple bobbles; (feel free to try any bobble number – I used a 5 double crochet bobble for this example); chain 1; turn.
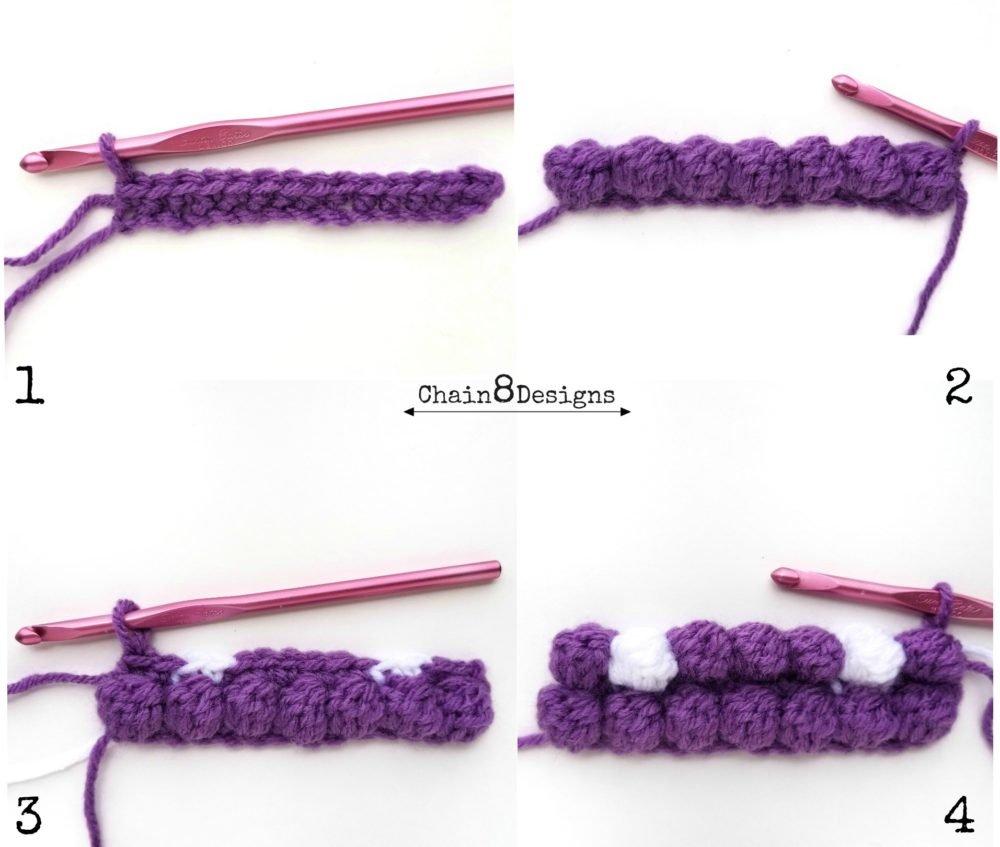
This second row on the chart is where we get to start changing colors. You want to change colors for each bobble on both the single crochet and the bobble row.
Following the chart, we will single crochet (with purple) in the first two stitches; (switch to white) single crochet the next two stitches; and so forth until you have finished the row [pic 3].
I usually carry the color I’m not using in the back and crochet over it. I do this if the next instance of that color is within 3 or 4 bobbles, otherwise I will have a couple bobbins of each color…much like corner to corner. I find that if I carry my yarn over too many stitches the bobbles can become compacted together and the columns of bobbles on the finished project will not line up nice and straight.
With the single crochet row now complete, you can easily see where to change colors for the bobble row.
(With purple) Bobble in the first stitch; single crochet in the next; bobble in the next; single crochet in the next; (switch to white) repeat bobble/single crochet in the next six stitches; keep following the chart until you reach the end of the row [pic 4].
Once you have the first two rows complete, you can continue following the chart until you have your finished “A”.
Now that wasn’t hard, was it?
The project possibilities for this nubby little stitch are endless. Like I said in the beginning, I love to use this stitch when making picture blankets and it works especially great for textured pillows.
For an easy graph making website check out Stitch Fiddle. It makes creating your own graphs so simple and your first few charts are FREE! This is what I used to make the graph we used for the “A”.
Keep an eye on the blog for a project incorporating the bobble stitch in the next week or so. I hope I’ve been able to take any mystery out of this versatile little stitch. Give it a try today! I’d love to see any projects you make with it, use the #chain8designs on Instagram so I can oooh and ahhh over your beautiful designs.
Till next time…happy hooking!
**Feel free to make and sell items that are made from this pattern. Please link back to the pattern on any online sales or include my web address on tags for any in-person sales. Please do not republish or distribute any of the pictures or patterns, in any form, from this site.**
WANT TO SEE SNEAK PEEKS OF UPCOMING PATTERNS AND PROJECTS OR GENERAL HOME DECOR/CROCHET/CRAFTING FUN? Follow me on Instagram and also use #chain8design: chain8designs Facebook: Chain8Designs Ravelry: Chain 8 Designs


[…] Never worked with the bobble stitch before? Check out my Bobble Stitch Tutorial. […]