
“Twas the night before Christmas when all through the house, not a creature was stirring, not even a mouse.”
Just hearing that sentence fills me with such warm and fuzzy Christmas memories. Every Christmas Eve I would snuggle in bed and my mom would read The Night Before Christmas. To this day it is still my favorite Christmas book. When I was about seven or eight I made it my mission to memorize the whole story. I’m not sure why…I think I just loved the book that much. I still have the original copy my mother read to me and I now read it to my daughter every Christmas Eve. It’s the only book I’ve kept from my childhood and I’m so glad I did. Ooooh the Christmas feels!

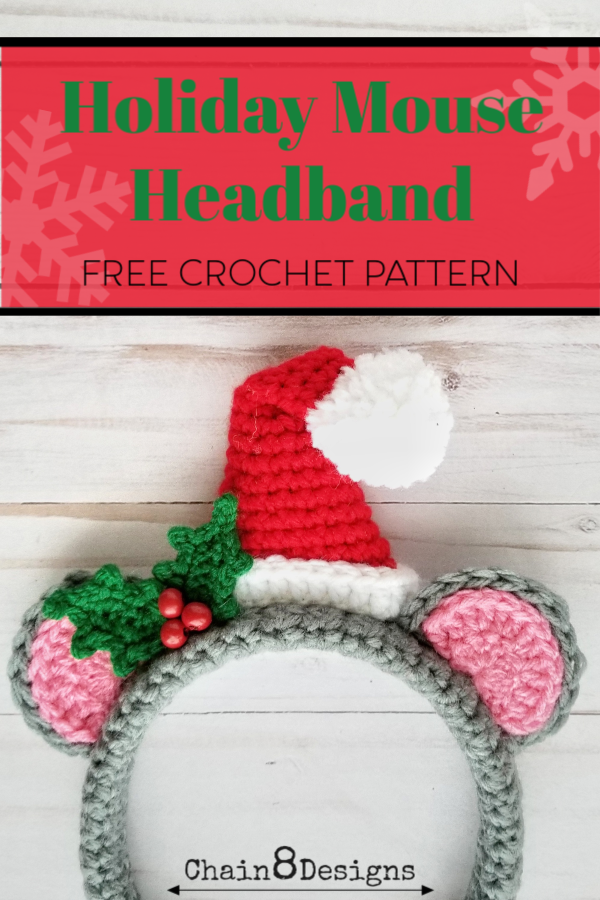
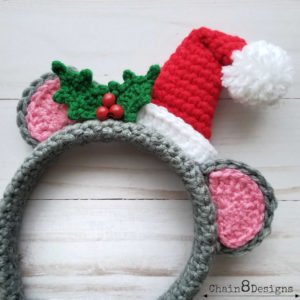
When I was flipping through the book the other day I got the idea to make this cute mouse headband. My daughter loves any kind of fun headband and I thought this would be a fun addition to our Christmas Eve tradition.
This pattern works up fairly quickly (I made all the parts in a couple of hours while watching tv) so there is plenty of time to whip one up before Christmas. This also uses minimal amounts of each yarn so it’s a good stash buster project. I’m always looking for ways to use up the little bits of yarn I have left from other projects. Any true yarn hoarder knows that you never throw them away…you wait for a project just like this.
Don’t forget to check out my other holiday headbands!
Christmas Unicorn Headband & Festive Reindeer Headband
DISCLAIMER: This post may contain affiliate links. I receive a small percentage from any purchases you may make (at no cost to you.)
HOLIDAY MOUSE HEADBAND

MATERIALS NEEDED:
- Grey Worsted Weight Yarn
- Pink Worsted Weight Yarn
- White Worsted Weight Yarn
- Green Worsted Weight Yarn
- Red Worsted Weight Yarn
- Size D, G, & H Hooks
- 1″ Plastic Headband
- (3) 8mm Red Wooden Beads
- Small Amount of Poly-fil/Stuffing
- Yarn Needle
- Stitch Marker
- Glue Gun and Glue
- Scissors
- 1 3/8″ Pompom Maker (optional)
- Sewing Needle (optional)
- Red Sewing Thread (optional)
ABBREVIATIONS:
- SC = Single Crochet
- SL st = Slip Stitch
- CH = Chain
- DC = Double Crochet
- SSCF = Seamless Single Crochet Finish
HEADBAND COVER
Notes:
- The chain does NOT count as a stitch.
- Use G hook.
CH 6
Row 1: SC in 2nd CH from hook; SC 4; CH 1; turn (5)
Row 2-6: SC all; CH 1; turn (5)
Row 7: SC next 2; 2 SC; SC next 2; CH 1; turn (6)
Row 8-10: SC all; CH 1; turn (6)
Row 11: SC next 2; 2 SC; SC next 3; CH 1; turn (7)
Row 12-15: SC all; CH 1; turn (7)
Row 16: SC next 3; 2 SC; SC next 3; CH 1; turn (8)
Row 17-20: SC all; CH 1; turn (8)
Row 21: SC next 4; 2 SC; SC next 3; CH 1; turn (9)
Row 22-25: SC all; CH 1; turn (9)
Row 26: SC next 4; 2 DC; SC next 4; CH 1; turn (10)
Row 27-47: SC all; CH 1; turn (10)
Row 48: SC next 4; SCtog; SC next 4; CH 1; turn (9)
Row 49-52: SC all; CH 1; turn (9)
Row 53: SC next 3; SCtog; SC next 4; CH 1; turn (8)
Row 54-57: SC all; CH 1; turn (8)
Row 58: SC next 3; SCtog; SC next 3; CH 1; turn (7)
Row 59-62: SC all; CH 1; turn (7)
Row 63: SC next 3; SCtog; SC next 2; CH 1; turn (6)
Row 64-66: SC all; CH 1; turn (6)
Row 67: SC next 2; SCtog; SC next 2; CH 1; turn (5)
Row 68-71: SC all; CH 1; turn (5)
Row 72: SC all; fasten off leaving a 3-yard tail (5)
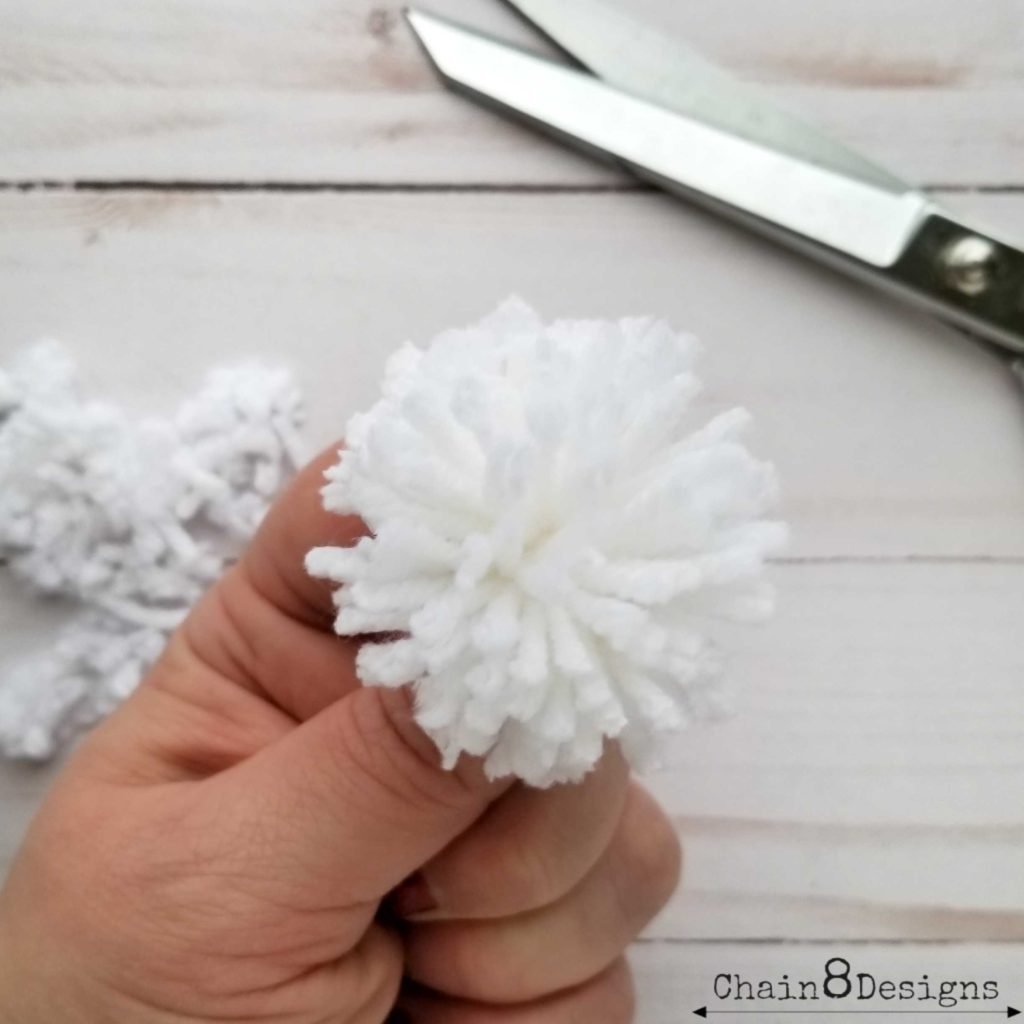
POMPOM
Notes:
- Because of the nature of how pompoms are made, the strands can come loose if pulled on so please be careful with these around small children.
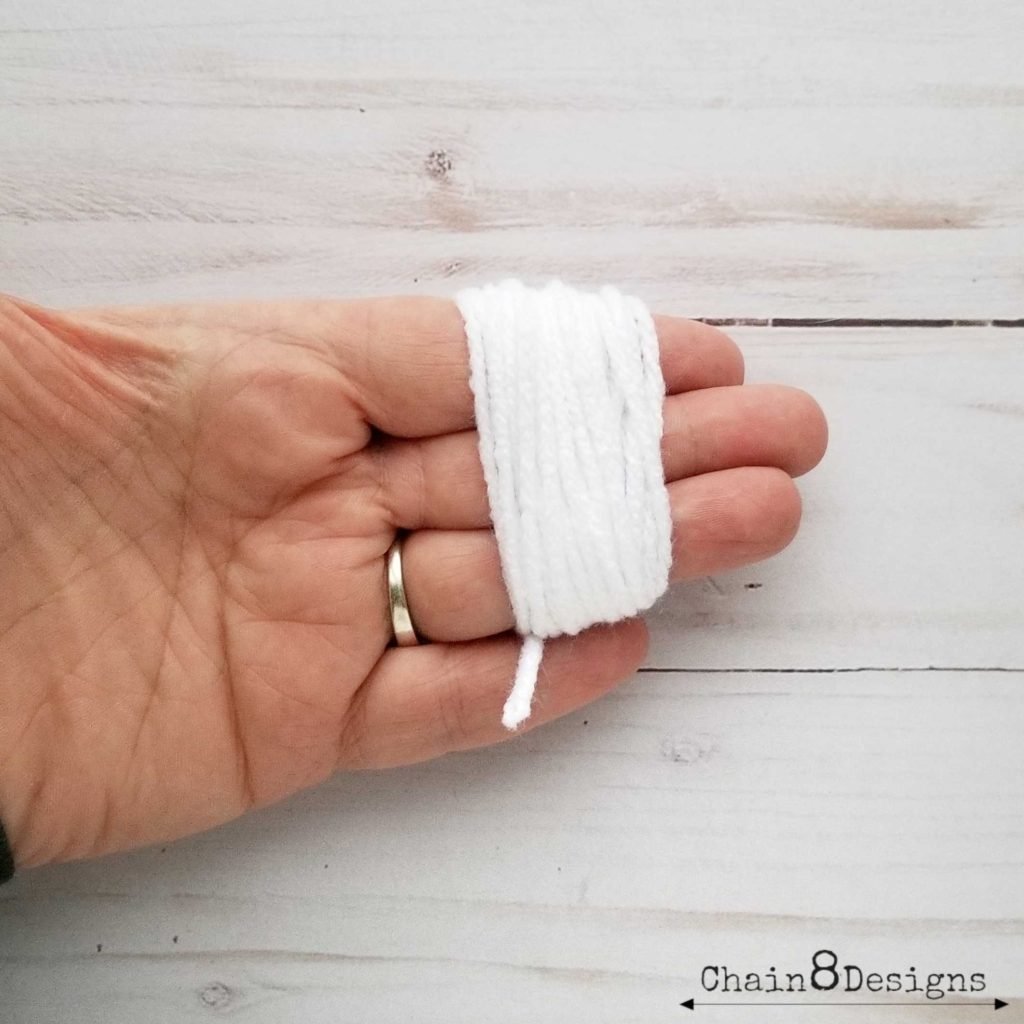
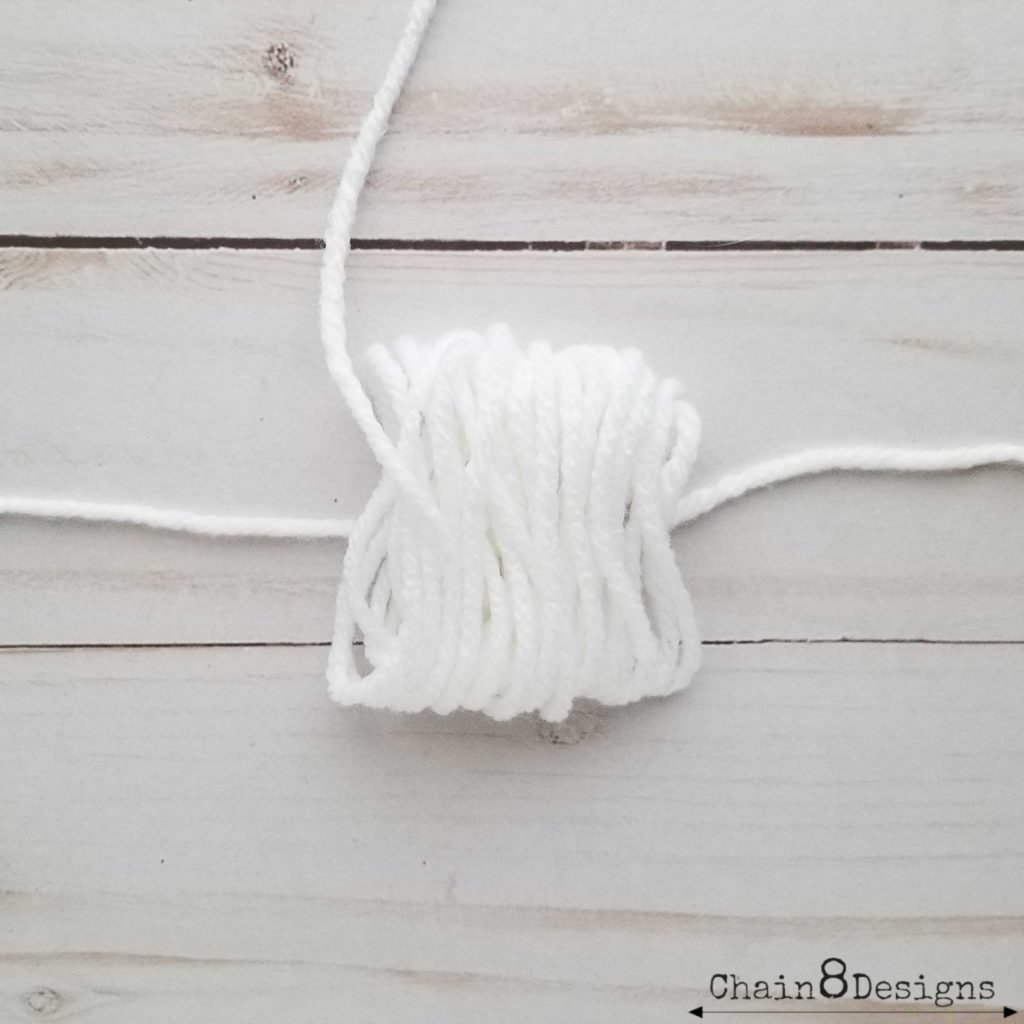
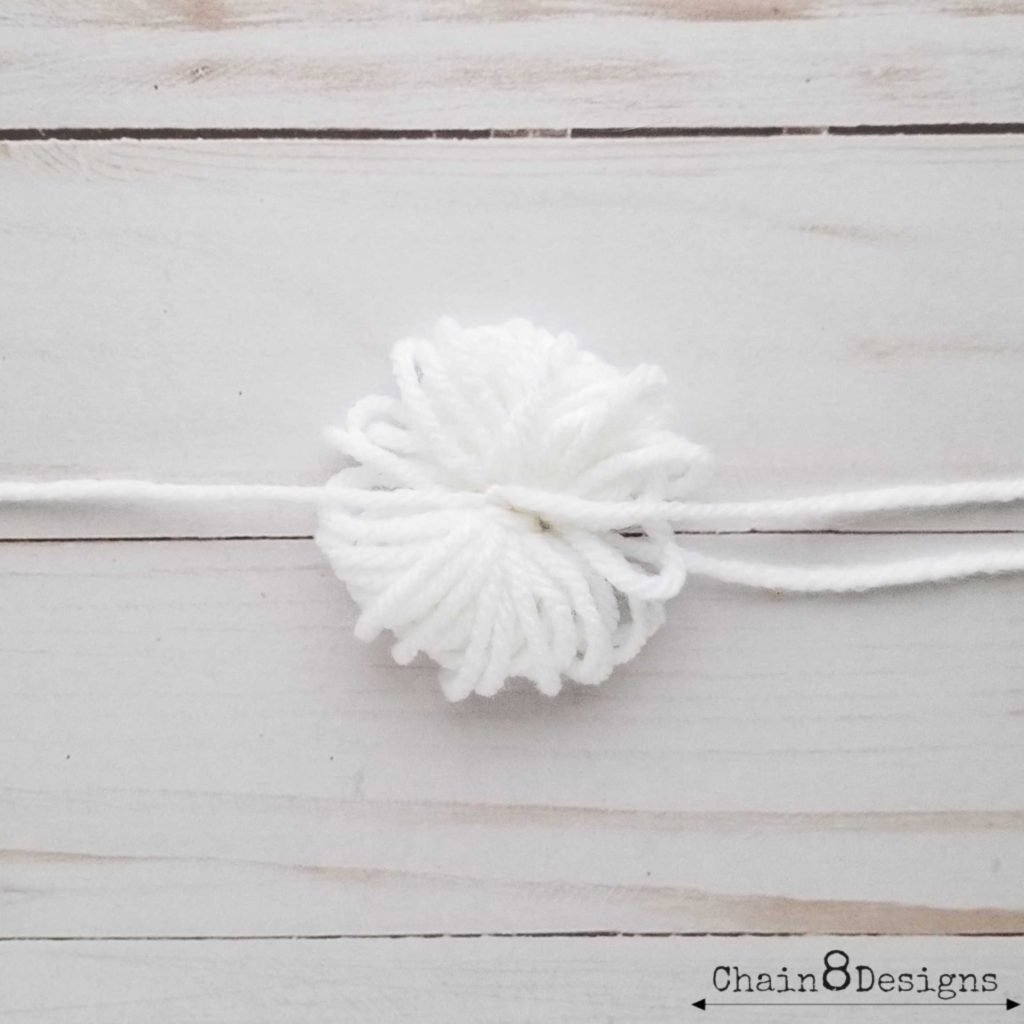
If you don’t have a pompom maker it is very easy to make mini pompom without one. Take the yarn and wrap it around your index, middle and ring fingers about 30 times and cut. Wiggle the yarn off your fingers and lay the bundle on top of an 18″ piece of yarn, placing the yarn directly in the middle of the bundle. Pull the yarn tight and tie a knot, flip the yarn to the other side and repeat. Do this a few times to make sure that the pompom strands are secure. Cut the loops, give your pompom a good shake, and trim the pompom to the desired size. Make sure to not cut the long tails of yarn as this is how you will attach the pompom to the hat.
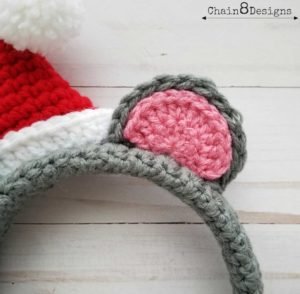
EARS
Notes:
- Make two of each, both inner and outer ears.
- Use H hook for the outer ear and D hook for the inner ear.
- Use grey for the outer ear and pink for the inner ear.
Magic Ring: 8 DC into Magic Ring; CH 2; turn
Row 1: SC next 2; 2 SC in next 4; SC next 2; fasten off leaving a 12″ tail [only leave the tail on the outer ears]
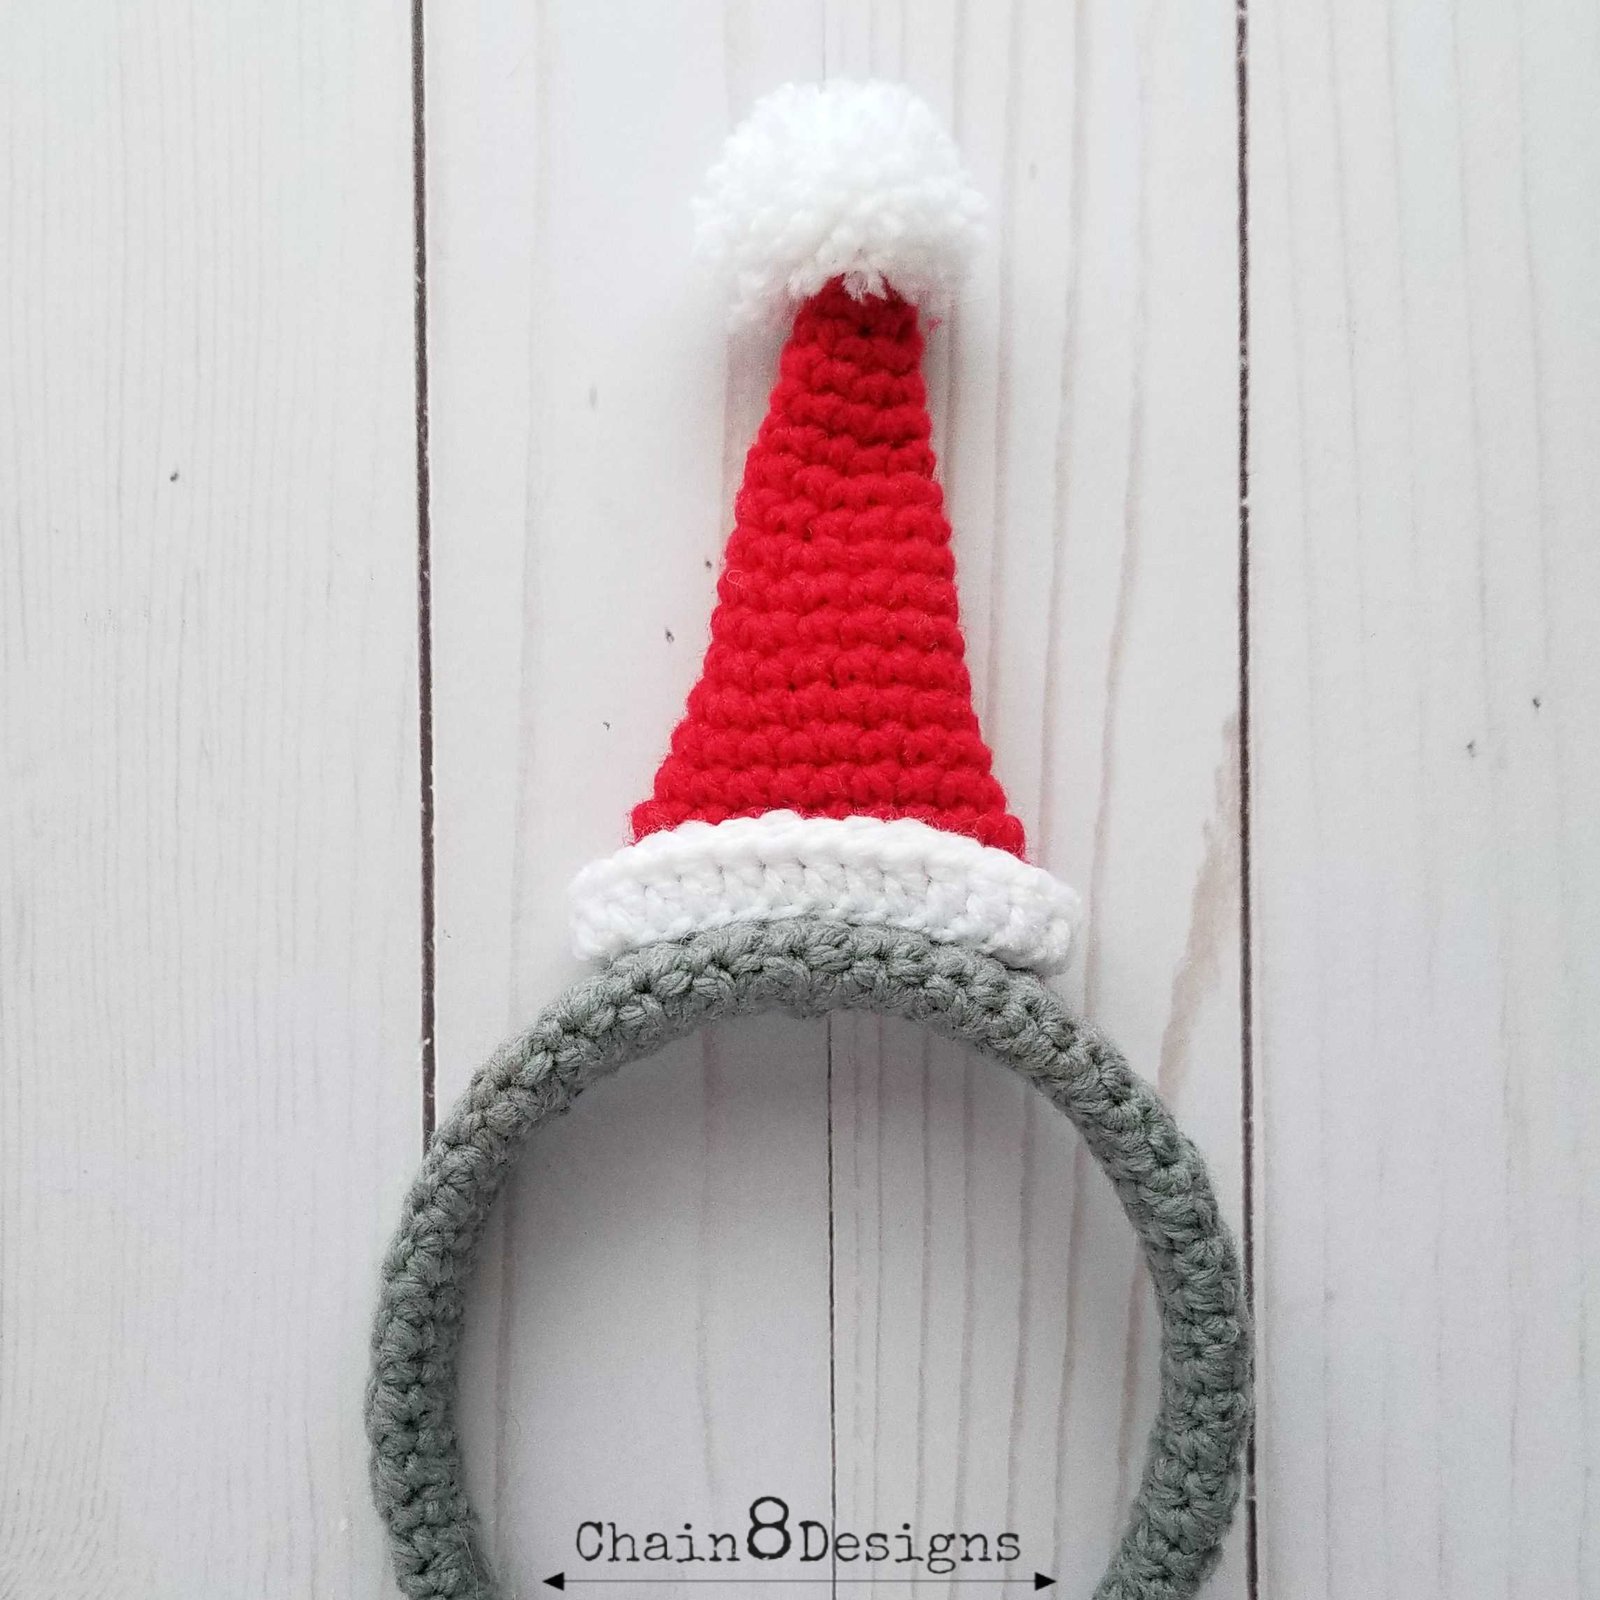
HAT BRIM
Notes:
- Use G hook
CH 28
[Making sure that the chain does not twist] SL st to the first CH to form a circleCH 2; DC into same space as SL st; DC next 27; SSCF to first DC; weave in ends.
HAT
Notes:
- Use G hook
Magic Ring: 5 SC into Magic Ring (5)
Rnd 1: SC all (5)
Rnd 2: 2 SC; SC; 2 SC; SC; 2 SC (8)
Rnd 3: SC all (8)
Rnd 4: SC all (8)
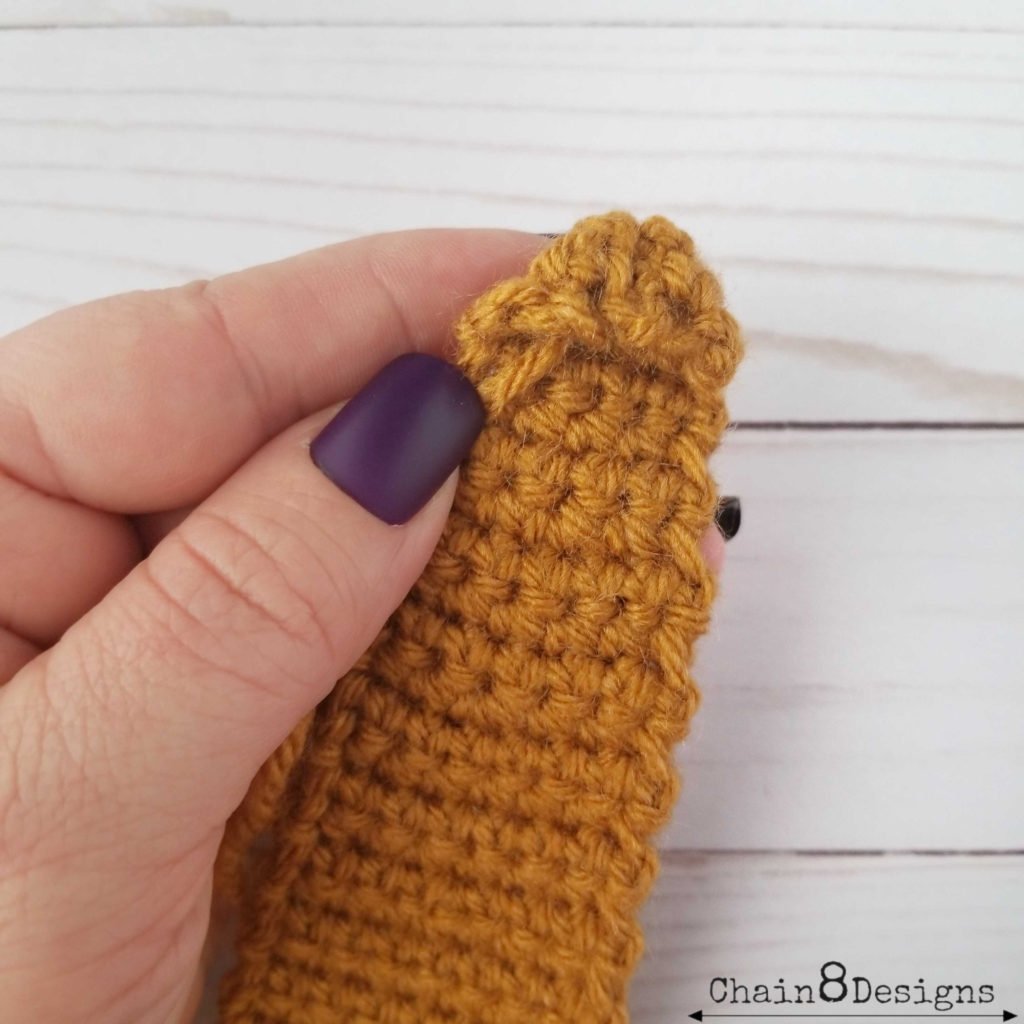
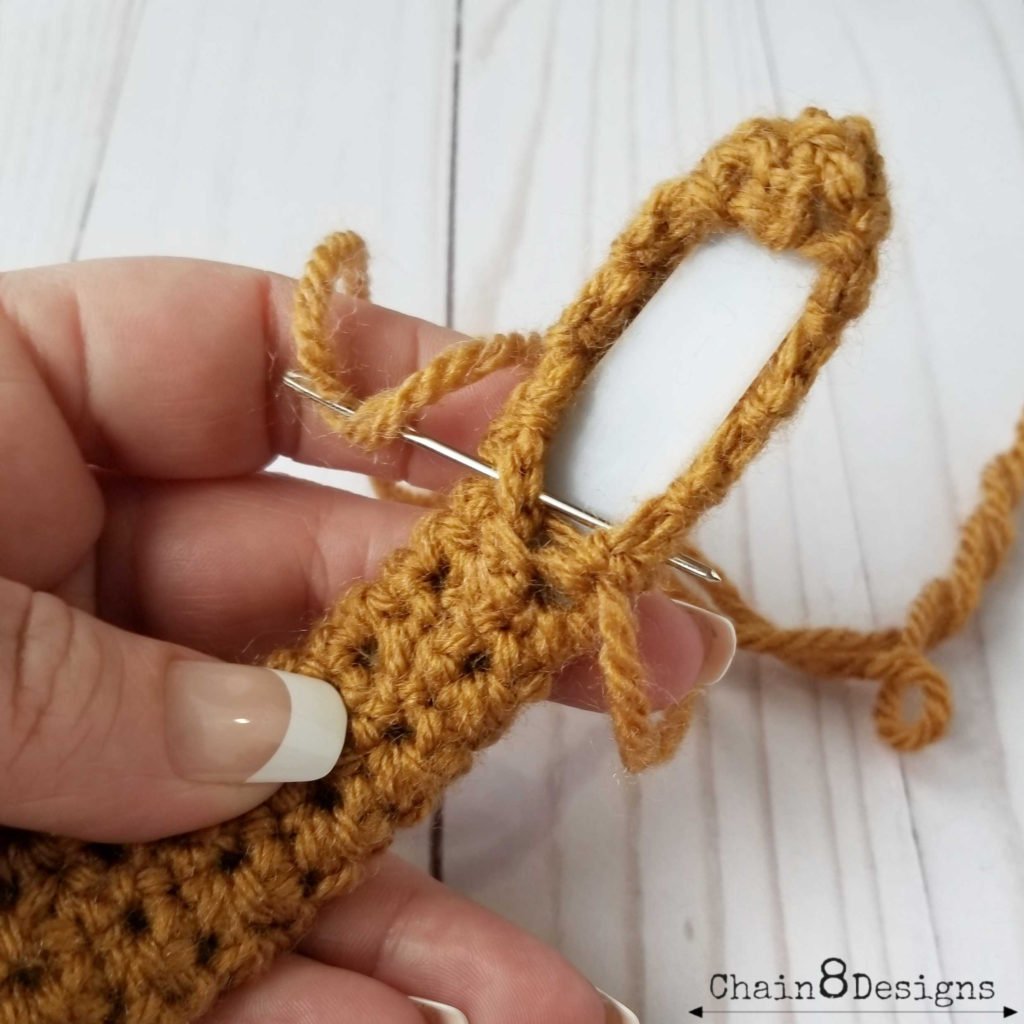
At this point, you will want to flip the hat to the inside and pull the magic ring tight and weave in the end. Flip the hat back to the right side and take one tail end of your pompom and insert the needle into the top of the hat and pull through. Do the same with the other pompom tail but insert the needle a little to the side of the first. Tie the tails into a couple of knots and place a small amount of hot glue on the knot to keep the pompom in place.
Rnd 5: *2 SC; SC next 3*; repeat from * (10)
Rnd 6: SC all (10)
Rnd 7: *2 SC; SC next 4*; repeat from * (12)
Rnd 8: SC all (12)
Rnd 9: *2 SC; SC next 5*; repeat from * (14)
Rnd 10: SC all (14)
Rnd 11: *2 SC; SC next 6*; repeat from * (16)
Rnd 12: SC all (16)
Rnd 13: *2 SC; SC next 7*; repeat from * (18)
Rnd 14: SC all (18)
Rnd 15: *2 SC; SC next 8*; repeat from * (20)
Rnd 16: *2 SC; SC next 9*; repeat from * (22)
Rnd 17: *SC; SC next 10*; repeat from * (24)
Rnd 18: *2 SC; SC next 11*; repeat from * (26)
Rnd 13: *2 SC; SC next 12*; repeat from *; fasten off (28)
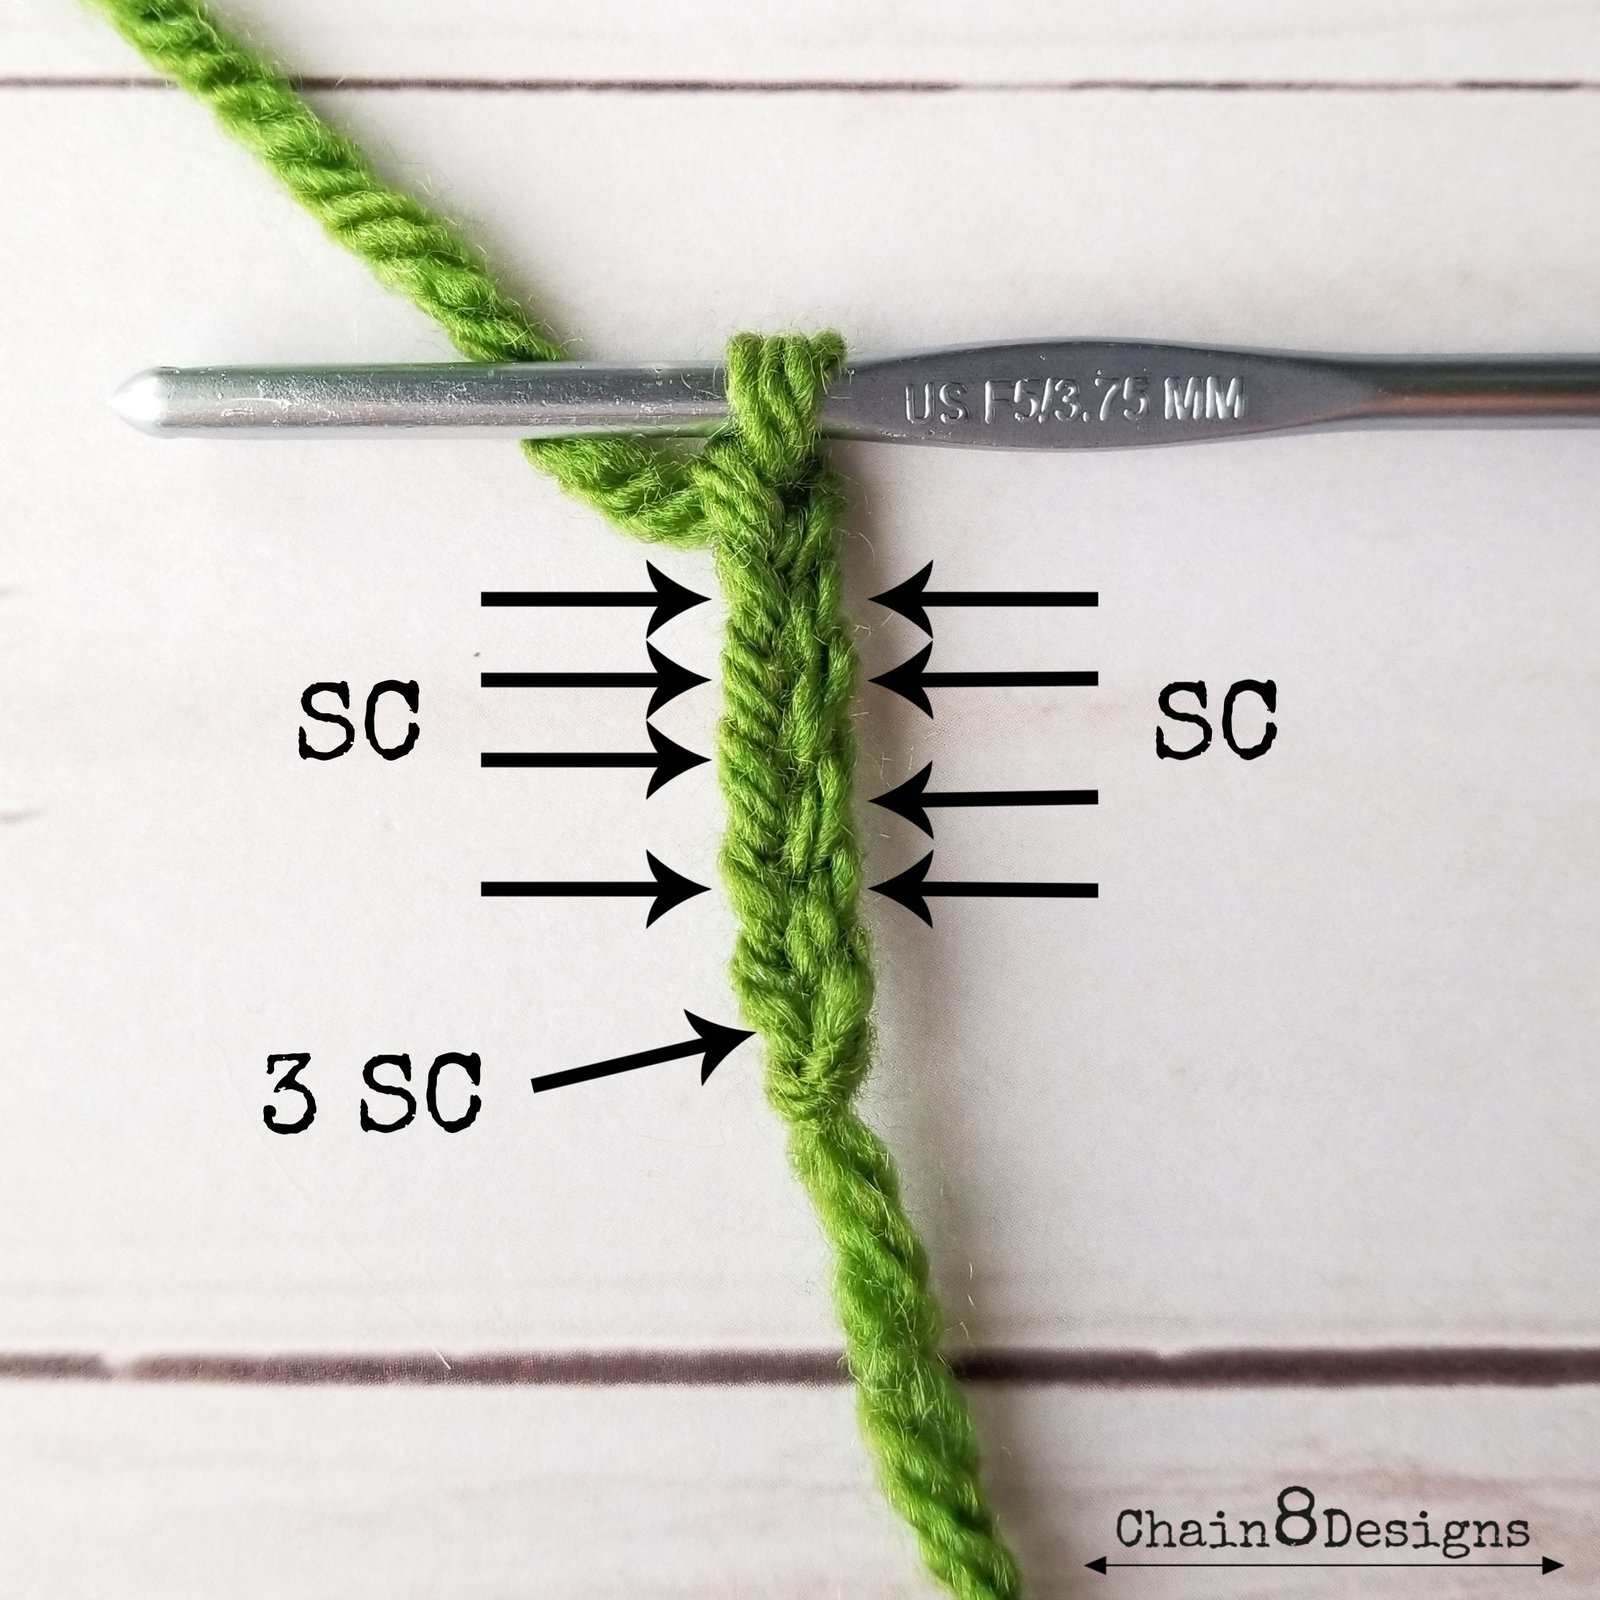
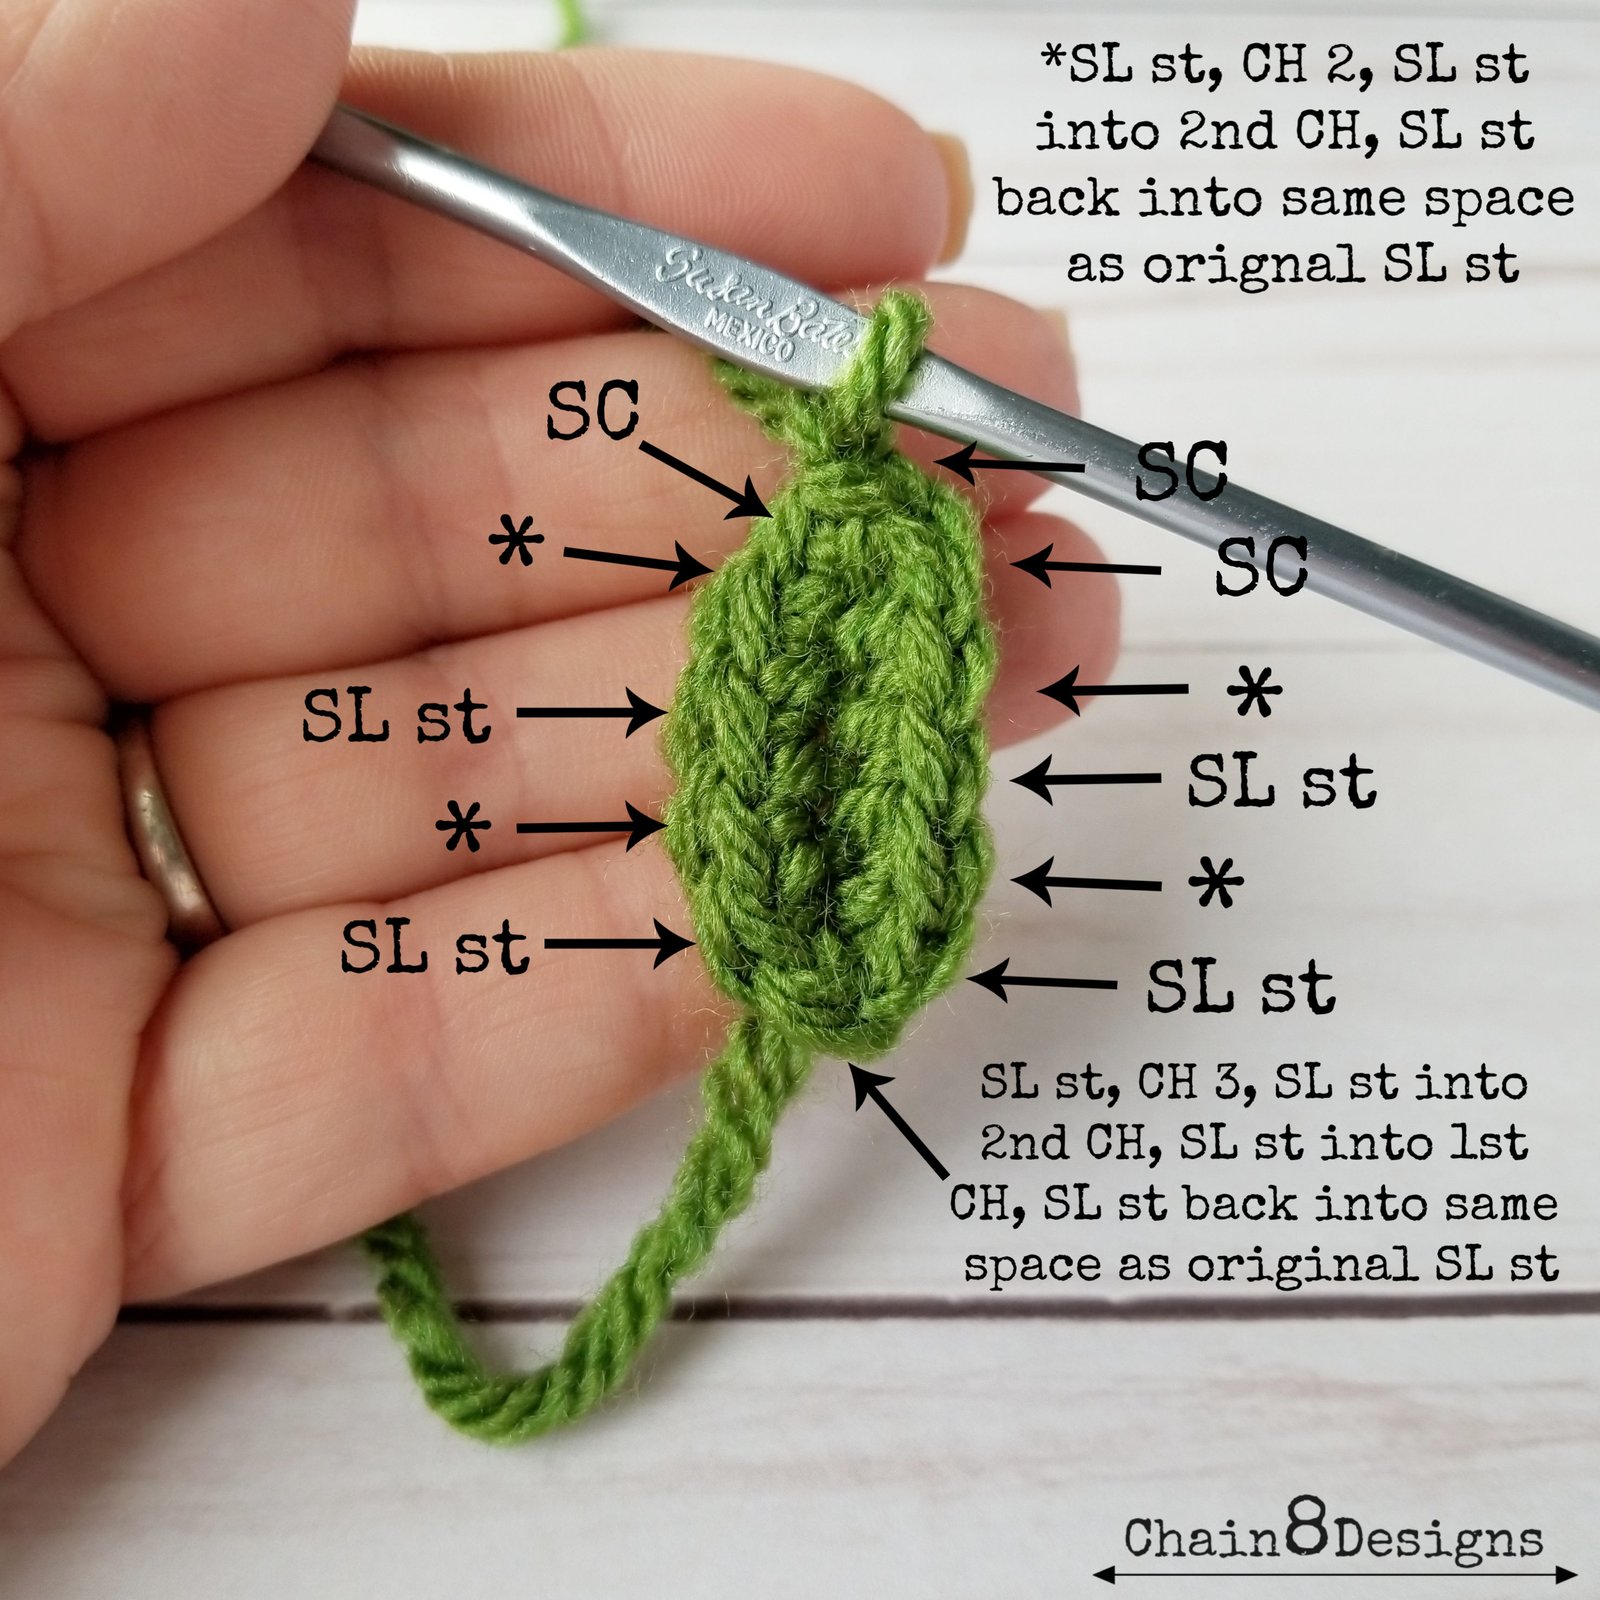
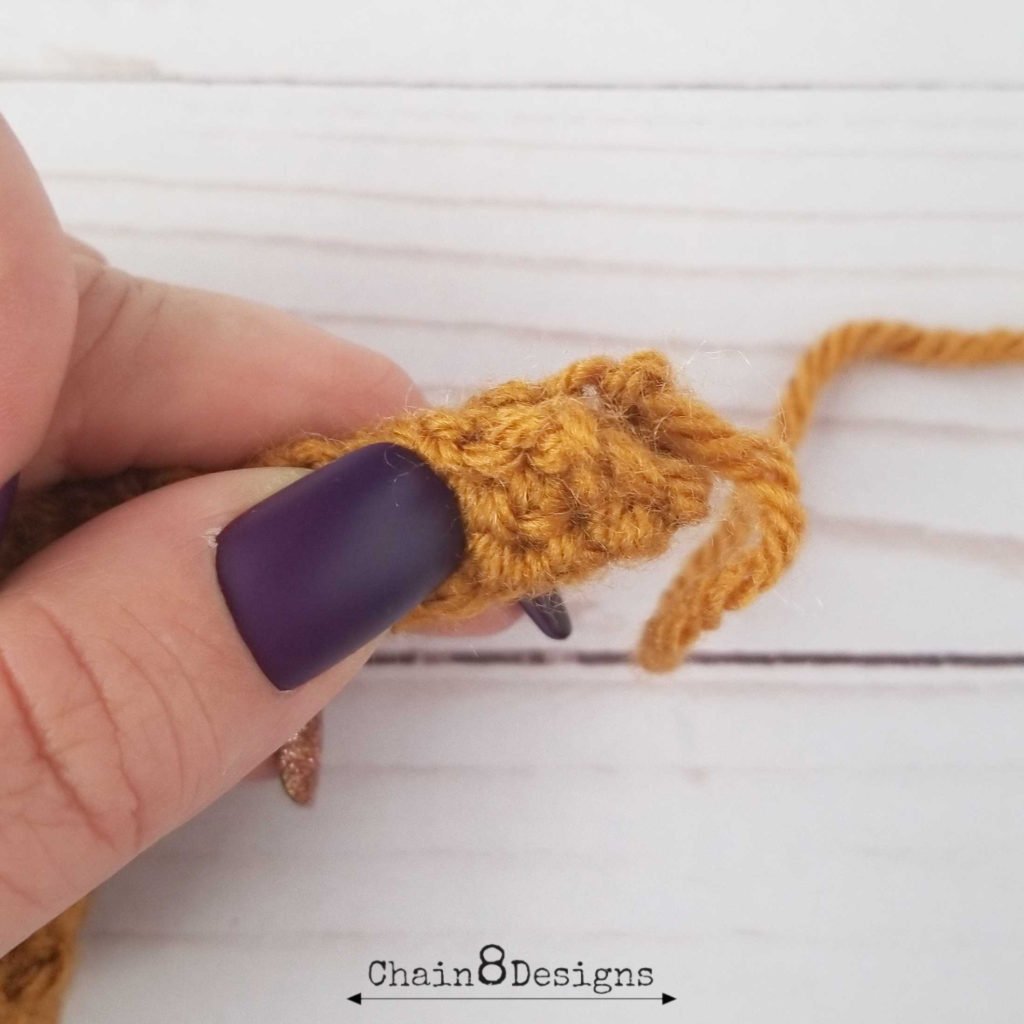
HOLLY
Notes:
- Use D hook
- Make 2
CH 6
Row 1: SC in 2nd CH from hook; SC next 3; 3 SC in last; (working down the other side) SC next 4; SL st to 1st SC; CH 1
Row 2: SC in CH space; SL st in next; *CH 2; SL st into 2nd CH; SL st back into same space as original SL st*; SL st next 2; repeat from *; SL st next 2; CH 3; SL st in 2nd and 1st CH, SL st back into same space as original SL st; SL st next 2; repeat from *; SL st next 2; repeat from *; SC next 2; SL st to 1st SC; fasten off; weave in ends


ASSEMBLY
Fold one of the short ends of the headband cover in half and whipstitch the edge to close, repeat on the other end. Flip the seams to the inside. This will create a little pocket that the end of your headband sits in. Place the headband ends in the little pockets then whipstitch the cover together, enclosing the headband; weave in the ends.

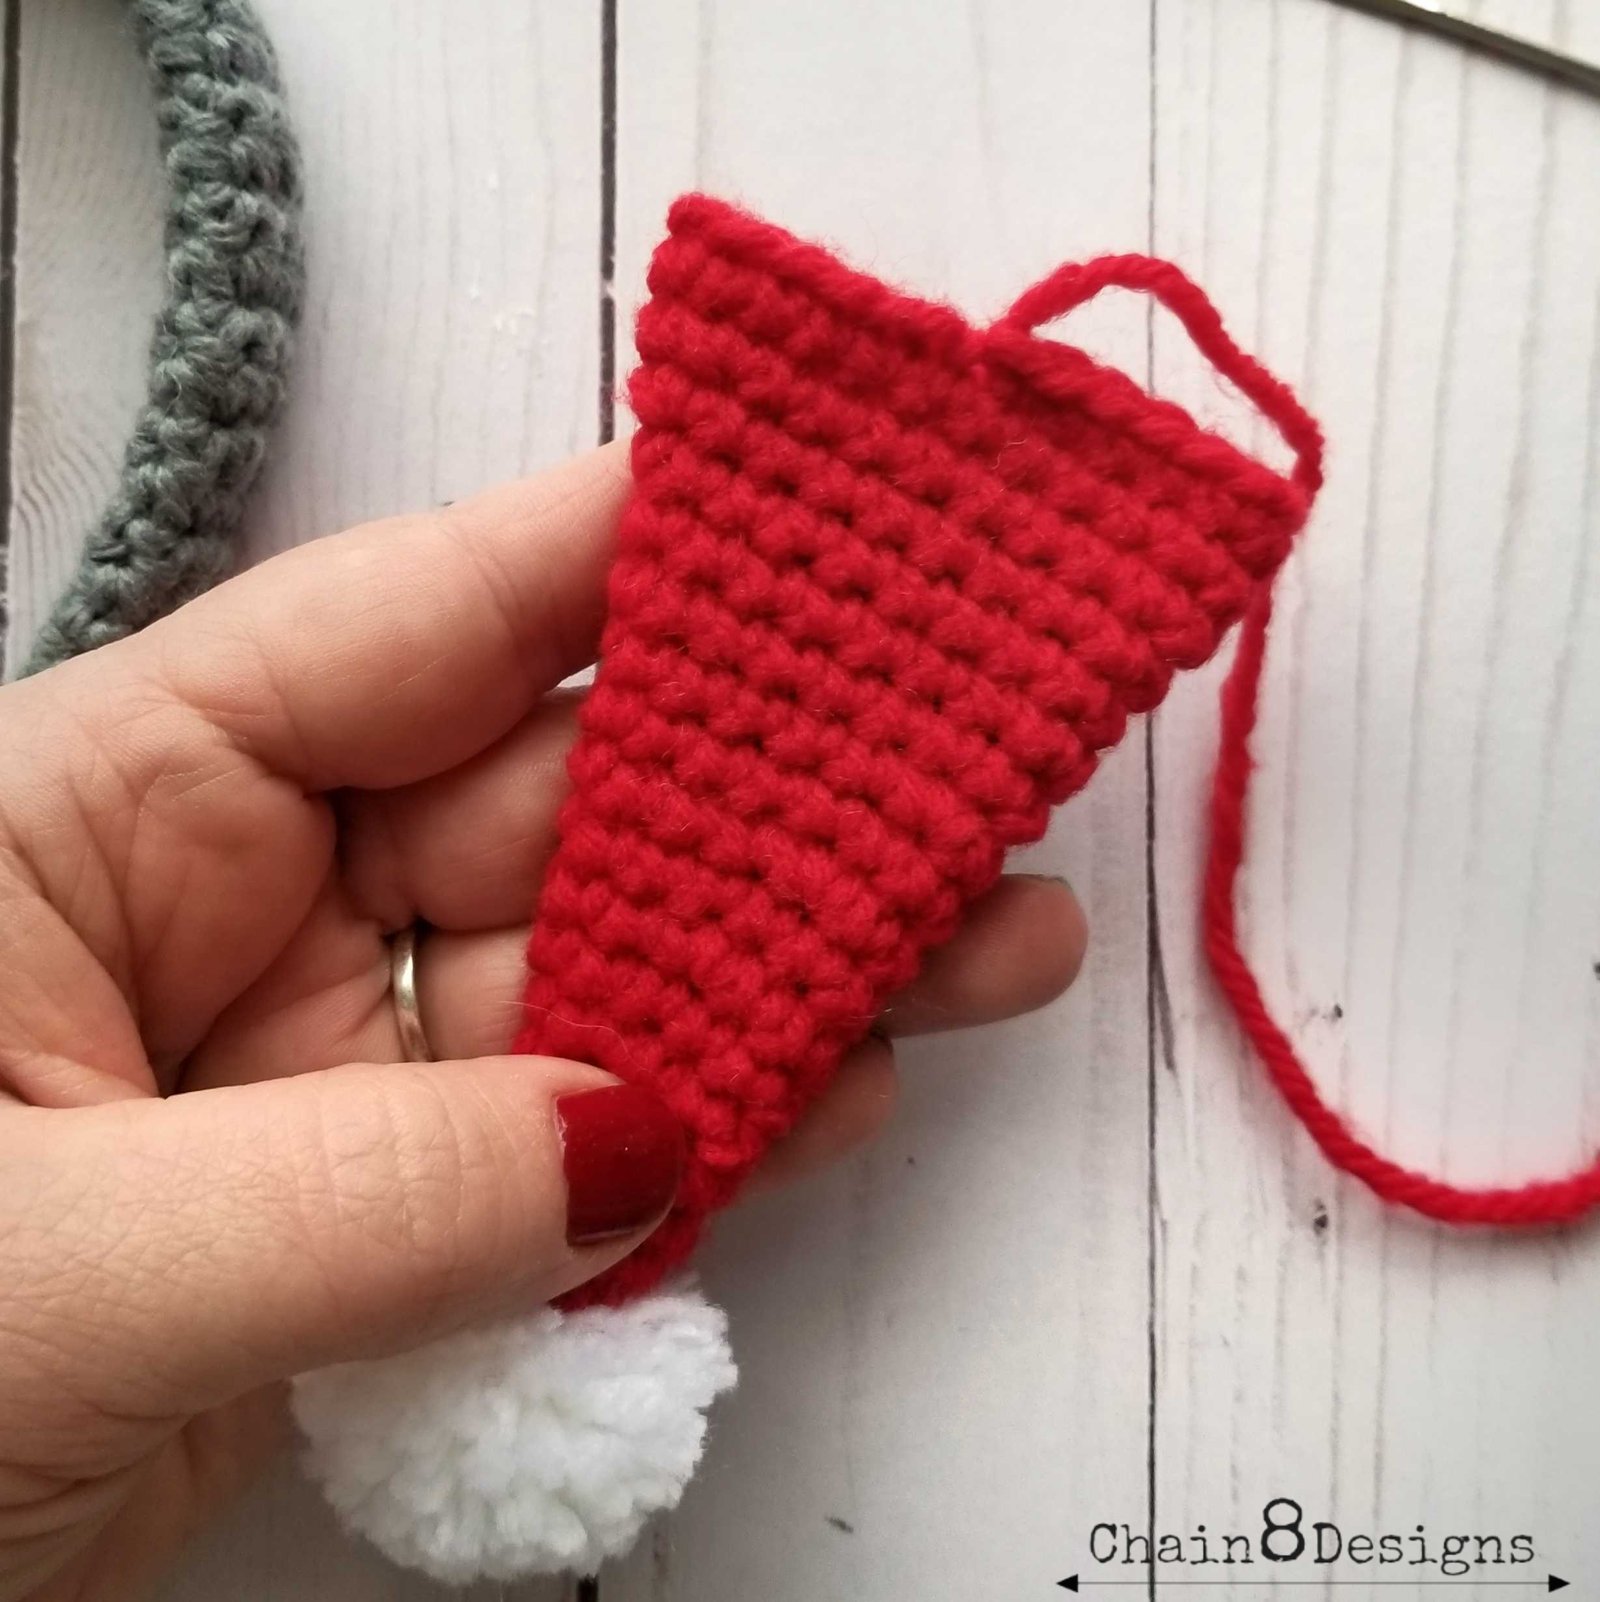
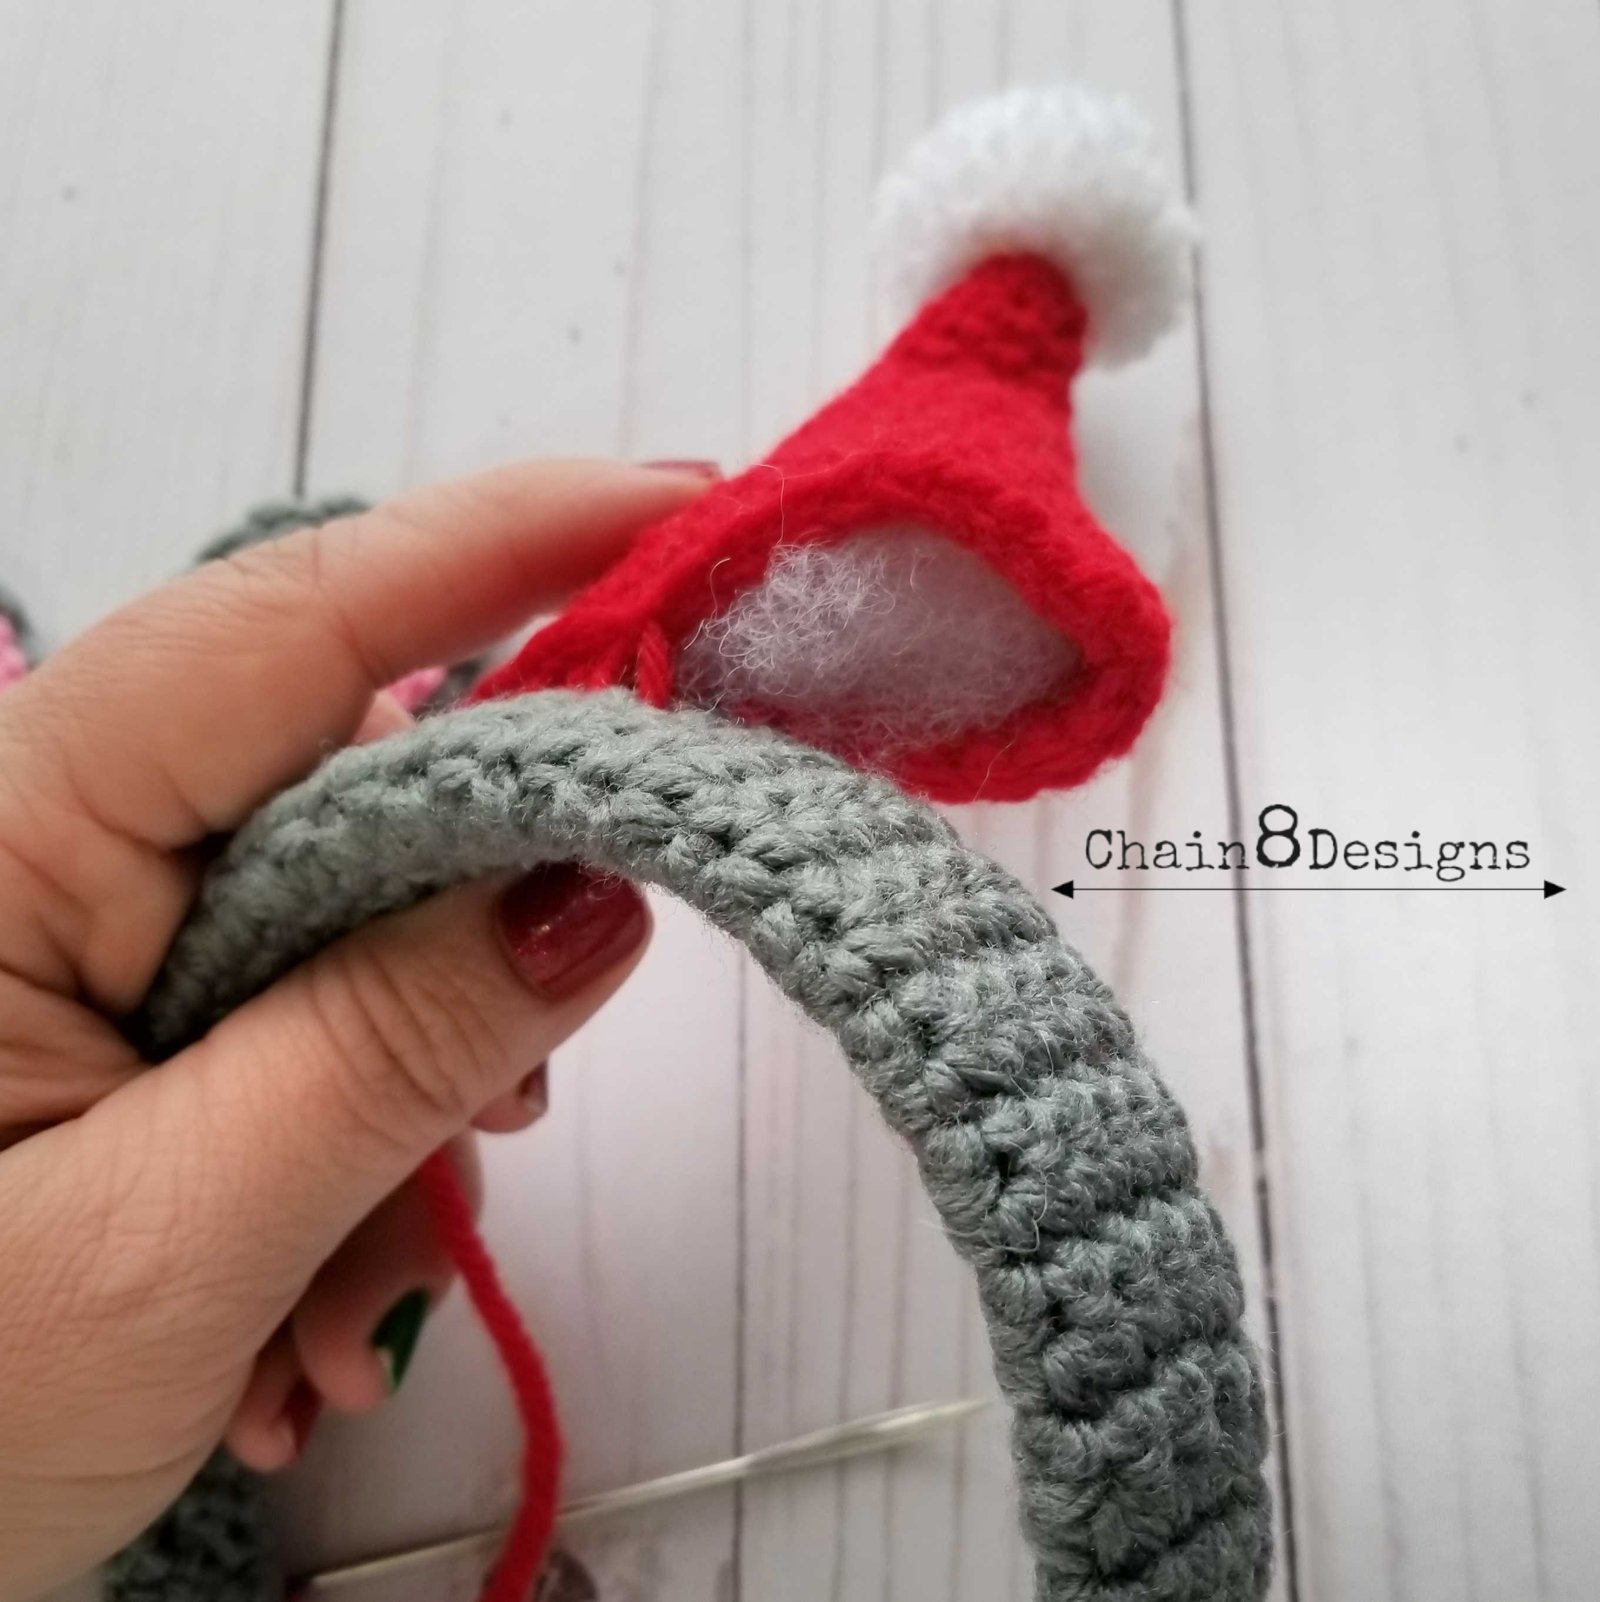
With the Santa hat, make sure that the tail is in the center of the back. Now find the middle point of your headband. Place the back of the hat close to the back edge of the headband and begin sewing the hat to the headband, stop halfway through and place a very small amount of stuffing in the hat and continue sewing it to the headband. Once the hat is secure, slip the hatband onto the hat, slide it down to the bottom and hot glue into place. Fold the point of the hat down and to the side and glue in place
Glue the loose tail ends to the back of the inner ear and trim off the excess. (I love any time I don’t have to weave in ends. LOL) Now glue the middle tail of the outer ear to the inside of the ear (this will be covered by the inner ear). Leave the long tail for attaching the ear to the headband. Repeat this with the other ear. Glue the inner ears to the outer. Place a small amount of glue on the bottom edge of each ear and place them just to the side of the hat to hold them in place while you take the long tail and sew the ear into place.
Glue the holly, facing in opposite directions, at the point where one ear and the hat are. For the beads (aka berries) you can either glue them into place or for added security you can glue and then take your sewing needle and thread and sew them on. I would advice sewing them so that they do not come unattached end up in the mouth of a small child.
I hope you’ve enjoyed this pattern. This would make a cute gift for a child (or adult…I don’t judge LOL) with their own copy of The Night Before Christmas. Subscribe to the blog to be first to know when new patterns are posted. As always I would love to see your versions…post on Instagram and use #chain8designs. Till next time…HAPPY HOOKING AND HAPPY HOLIDAYS!

**Feel free to make and sell items that are made from this pattern. Please link back to the pattern on any online sales or include my web address on tags for any in-person sales. Please do not republish or distribute any of the pictures or patterns, in any form, from this site without permission from me. Please e-mail me for any inquiries.**
Love the pattern but am having a problem locating the red wooden Beads. Are you using solid ones or ones with holes in them? Any help you can provide would be very helpful.
Hi Judy! I used some beads (with holes) that I had on hand but any small bead will do. It doesn’t have to be wood either. I would check Amazon or the bead section at Joann’s or Michael’s. I hope that helps.
Thanks for the information. I’ll check Michael’s and Joann’s.
Just curious, did you find any beads that work?
Hi, this headband is so adorable. Thank you for the pattern.
I hope you are okay that I placed a link with picture to your pattern on my website. I collect links to the best free crochet patterns on the web.
Have a nice weekend.
Lisa
Hi Lia!
You’re very welcome and I’m fine with you placing a link. Thank you for letting me know. 🙂
Have a great day,
Jennifer
Hello hello,
I am in love with this headband. Do you have a video showing how its done. Just the instructions are very hard for me to make it.
Thank you sooooooo much?
Paula from Belgium
Hi Paula,
Unfortunately, there is not a video. I hope to start making videos to accompany my patterns in the new year but as of now, there isn’t one. Sorry. 🙁