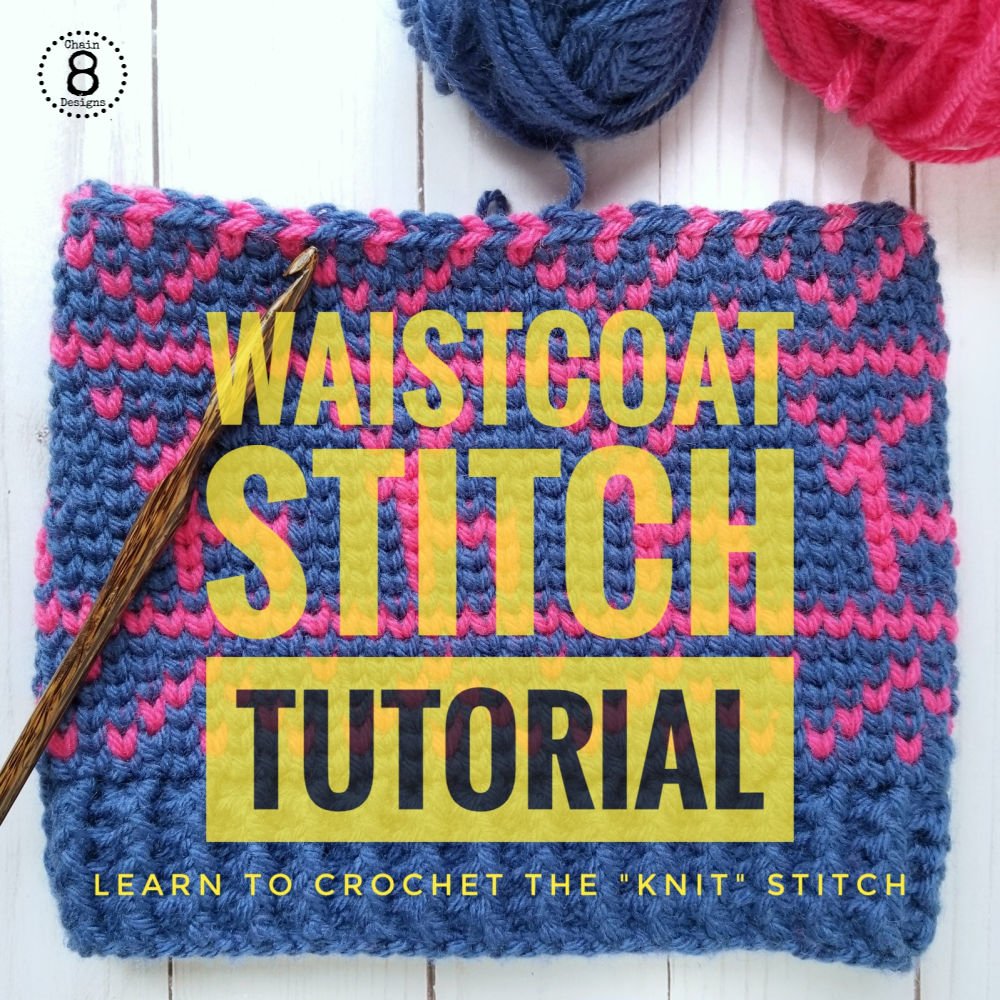
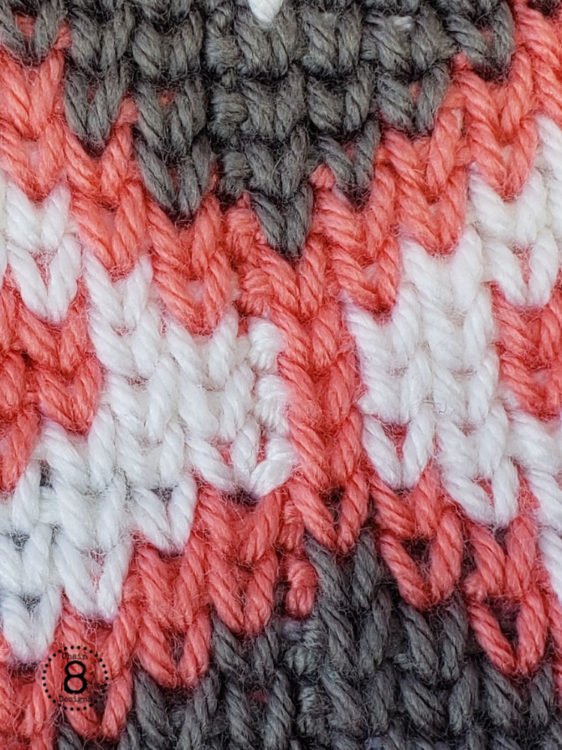
Do you love the look of knitting?
Do you know how to crochet not knit?
If you answered yes to those two questions, then the waistcoat stitch is just what you’re look for!

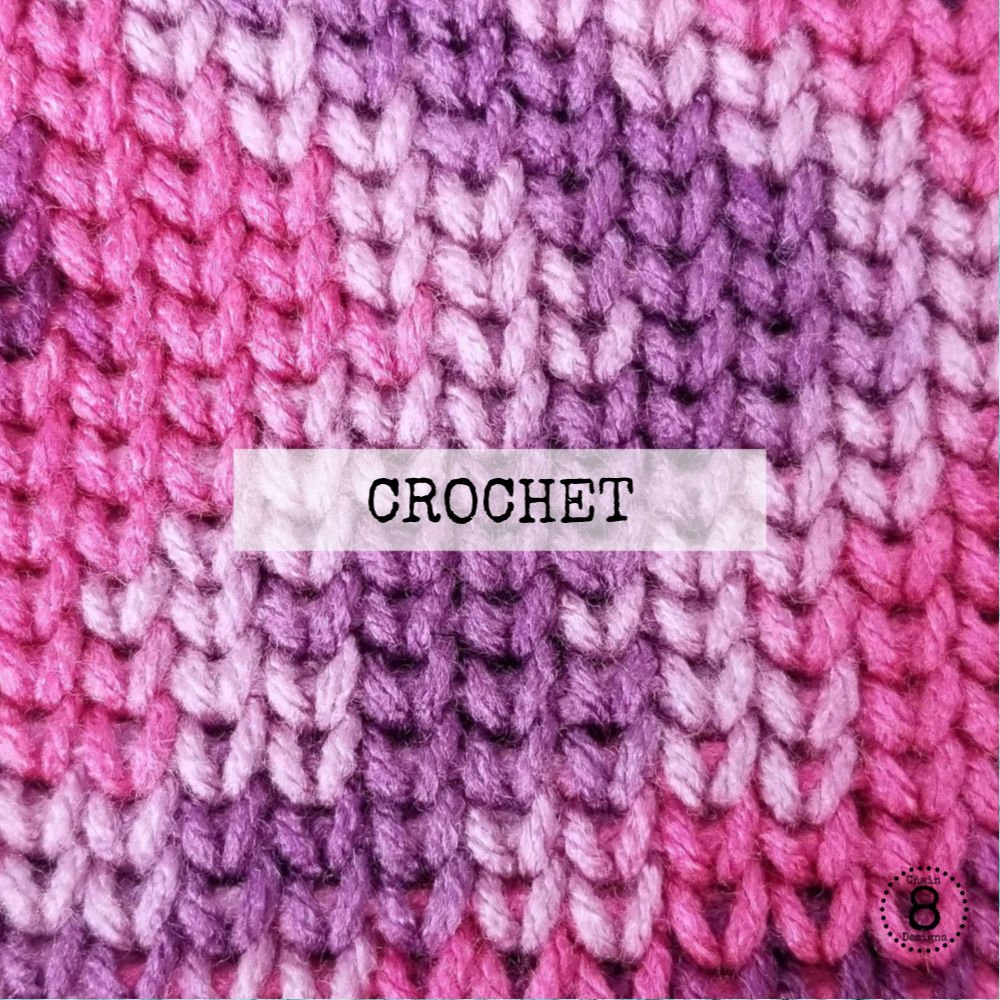
I learned to knit eons before I ever touched a crochet hook and always loved the look of knit. Once I found crochet though, I was hooked (pun intended LOL). I haven’t touched my knitting needles since, the poor things have sat collecting dust in a drawer. Even though I LOVE crochet, I also missed the look you get with knitting.
I was so happy when, browsing through Pinterest (or fell down the Pinterest rabbit hole is more like it LOL) I found a pattern that looked like knit but in crochet.
“You’re telling me I can make things look like knit but in crochet?!?! Shut your mouth!”
I was even happier when I found out how easy the waistcoat stitch really is. If you can make a single crochet you can make a waistcoat stitch.
I will walk you through everything I have learned along my waistcoat project making journey. I have included a ton of pictures to help those like me that are visual learners.
Now let’s get to the good stuff….
WHAT CAN YOU MAKE WITH THE WAISTCOAT STITCH?
This stitch works best for any project that is worked in joined rounds. I’ve seen it used for hats, bags, baskets, gloves, socks, etc.
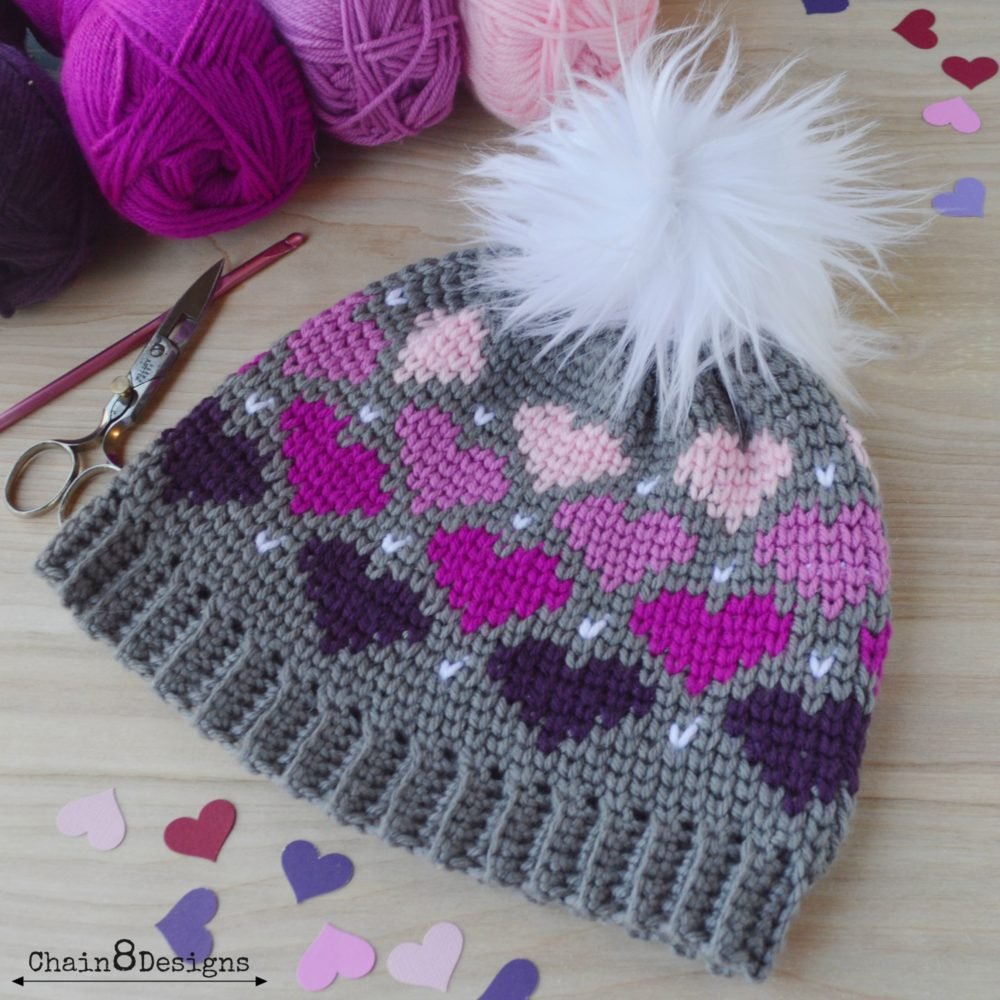
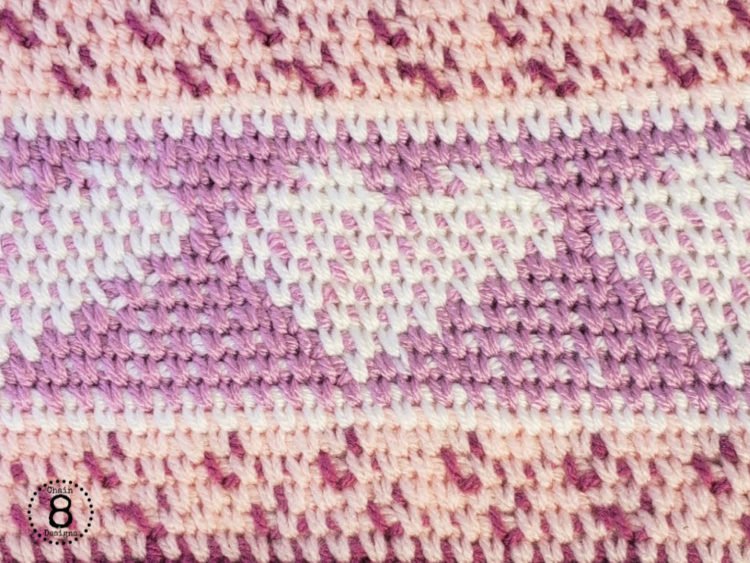
My personal favorite use for this stitch is doing graph/colorwork (also known as fair isle crochet)
to make hats. Because of the stacking nature of the stitch you can create so many wonderful designs, but we’ll get more into that in a bit.
HOW TO MAKE A WAISTCOAT STITCH
As I said in the beginning, if you can do a single crochet you can do a waistcoat stitch. The reason being, a waistcoat stitch is a single crochet, just worked in a different spot.
Traditional Single Crochet: Single crochet under the two loops of the stitch from the previous row.
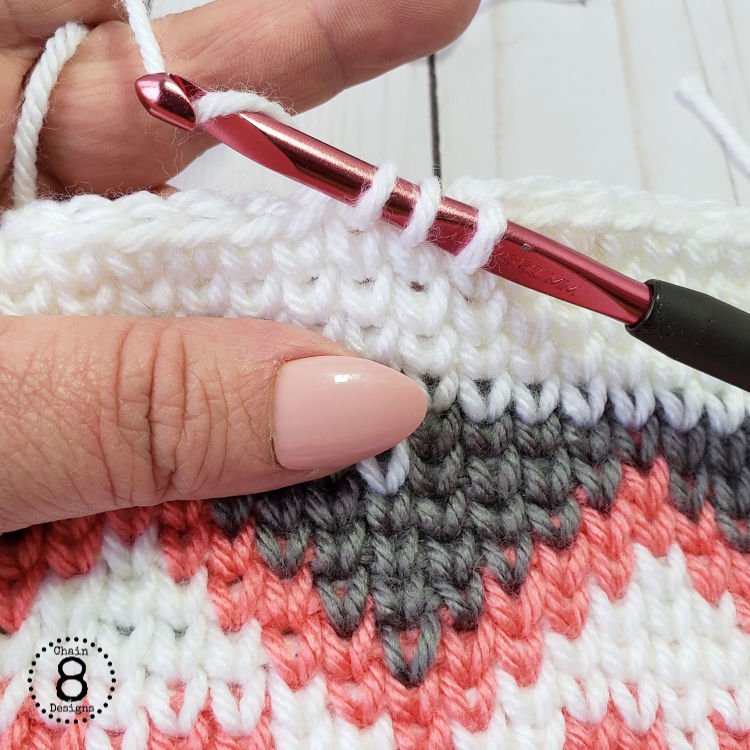
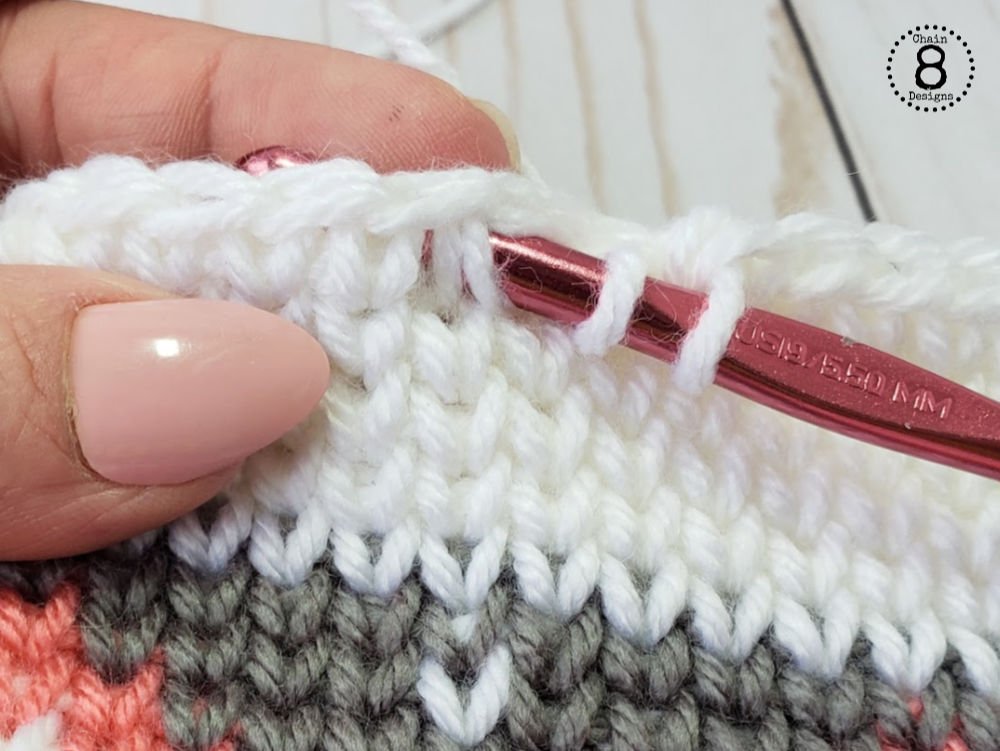
Waistcoat Stitch: Single crochet into the “V” of the stitch from the previous row.
Before you can begin making waistcoat stitches you need a round of traditional single crochet, this will be your “foundation round”. Once you have your foundation round completed you start making waistcoat stitches on round two.
The most important thing to remember about the waistcoat stitch (besides stitch placement) is to work loosely. Your hook should be able to easily slide into the stitch. If you find that you’re having to force your hook into the stitch, then you need to loosen up. I tend to crochet on the tighter side, it took me a bit to get the tension right.
Like traditional single crochet you will notice that your stitches will have a slight lean to the left. I have yet to figure out a way to get them perfectly straight up and down (if there is even a way) but the slight lean has never been something that has bothered me. When working with intricate patterns, I haven’t noticed the slant to be a problem.
Just remember to crochet into the "V" and keep it loosey goosey.
JOINING ROUNDS
Joining rounds is the same as joining rounds in traditional single crochet but you want to make sure that you pull both the slip stitch and chain 1 very tightly. When you pull both tightly it makes the seam nearly invisible.
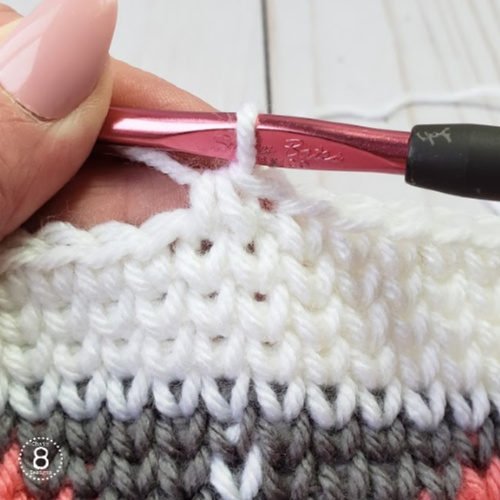
How-to: Once you have finished your round, you will slip stitch into the top (aka under the two loops) of the first waistcoat stitch and chain one to start the new round. The first stitch of the new round will be placed in the “V” of the same stitch you just slip stitched to.
INCREASES
Because of the stacking nature of the stitch, you must remember that when you increase it will throw off the perfect one on top another line. I’m not saying you can’t use it for patterns with increases, but it works much better for equal numbered stitch rounds.
How-to: Place two waistcoat stitches into the “V” of the stitch of the previous row.
DECREASES
Like with increases, decreasing stitches will throw off the stacking nature of the stitch. I usually only decrease when I am using a single color to close the top of a hat.
How-to: Insert your hook into the “V” of the first stitch, pull up a loop, insert you hook in the “V” of the second stitch, pull up a loop, yarn over and pull your hook through all three loops.
If you are working a round where one stitch of the decrease is worked into a decrease of the previous row, it helps to have your hook enter the decrease sideways so that it goes through both stitches of the previous decrease.
COLORWORK (AKA FAIR ISLE CROCHET)
As I said before, my favorite way to use this stitch is for colorwork aka fair isle crochet. The number of beautiful patterns you can create is limitless.
CHANGING COLORS
How-to: On the stitch before the new color, work the stitch as you normally would but don’t yarn over and pull through both loops, instead pull the new color through the two loops. Now you are ready to carry on with the new color.
I tend to find that the stitch before the color change can end up being a little bigger than the new colored stitch. To avoid this, make sure that after you have completed the first stitch with the new color, you give the yarn carry of the old color a little tug to tighten the stitch and even the two out.
TO PULL CARRIED YARN TIGHT OR NOT?
While you never want large loops of loose yarn sticking out between your stitches, whether you pull the carried yarn tight or not depends on if you want stretch in your project (think hats) or not (for something like a basket).
For a hat, where you want some stretch, you will want to keep your yarn carries loose. If you give the hat a sideways tug, you should be able to feel some stretch.
If I carry a yarn behind quite a few stitches:
Before I use that color again, I will give the project a little stretch to make sure that I haven’t pulled the carry too tight. This will help ensure that I don’t lose all the stretch which could affect the sizing.
WORKING FROM A CHART
You will usually start with a chart that looks something like this…
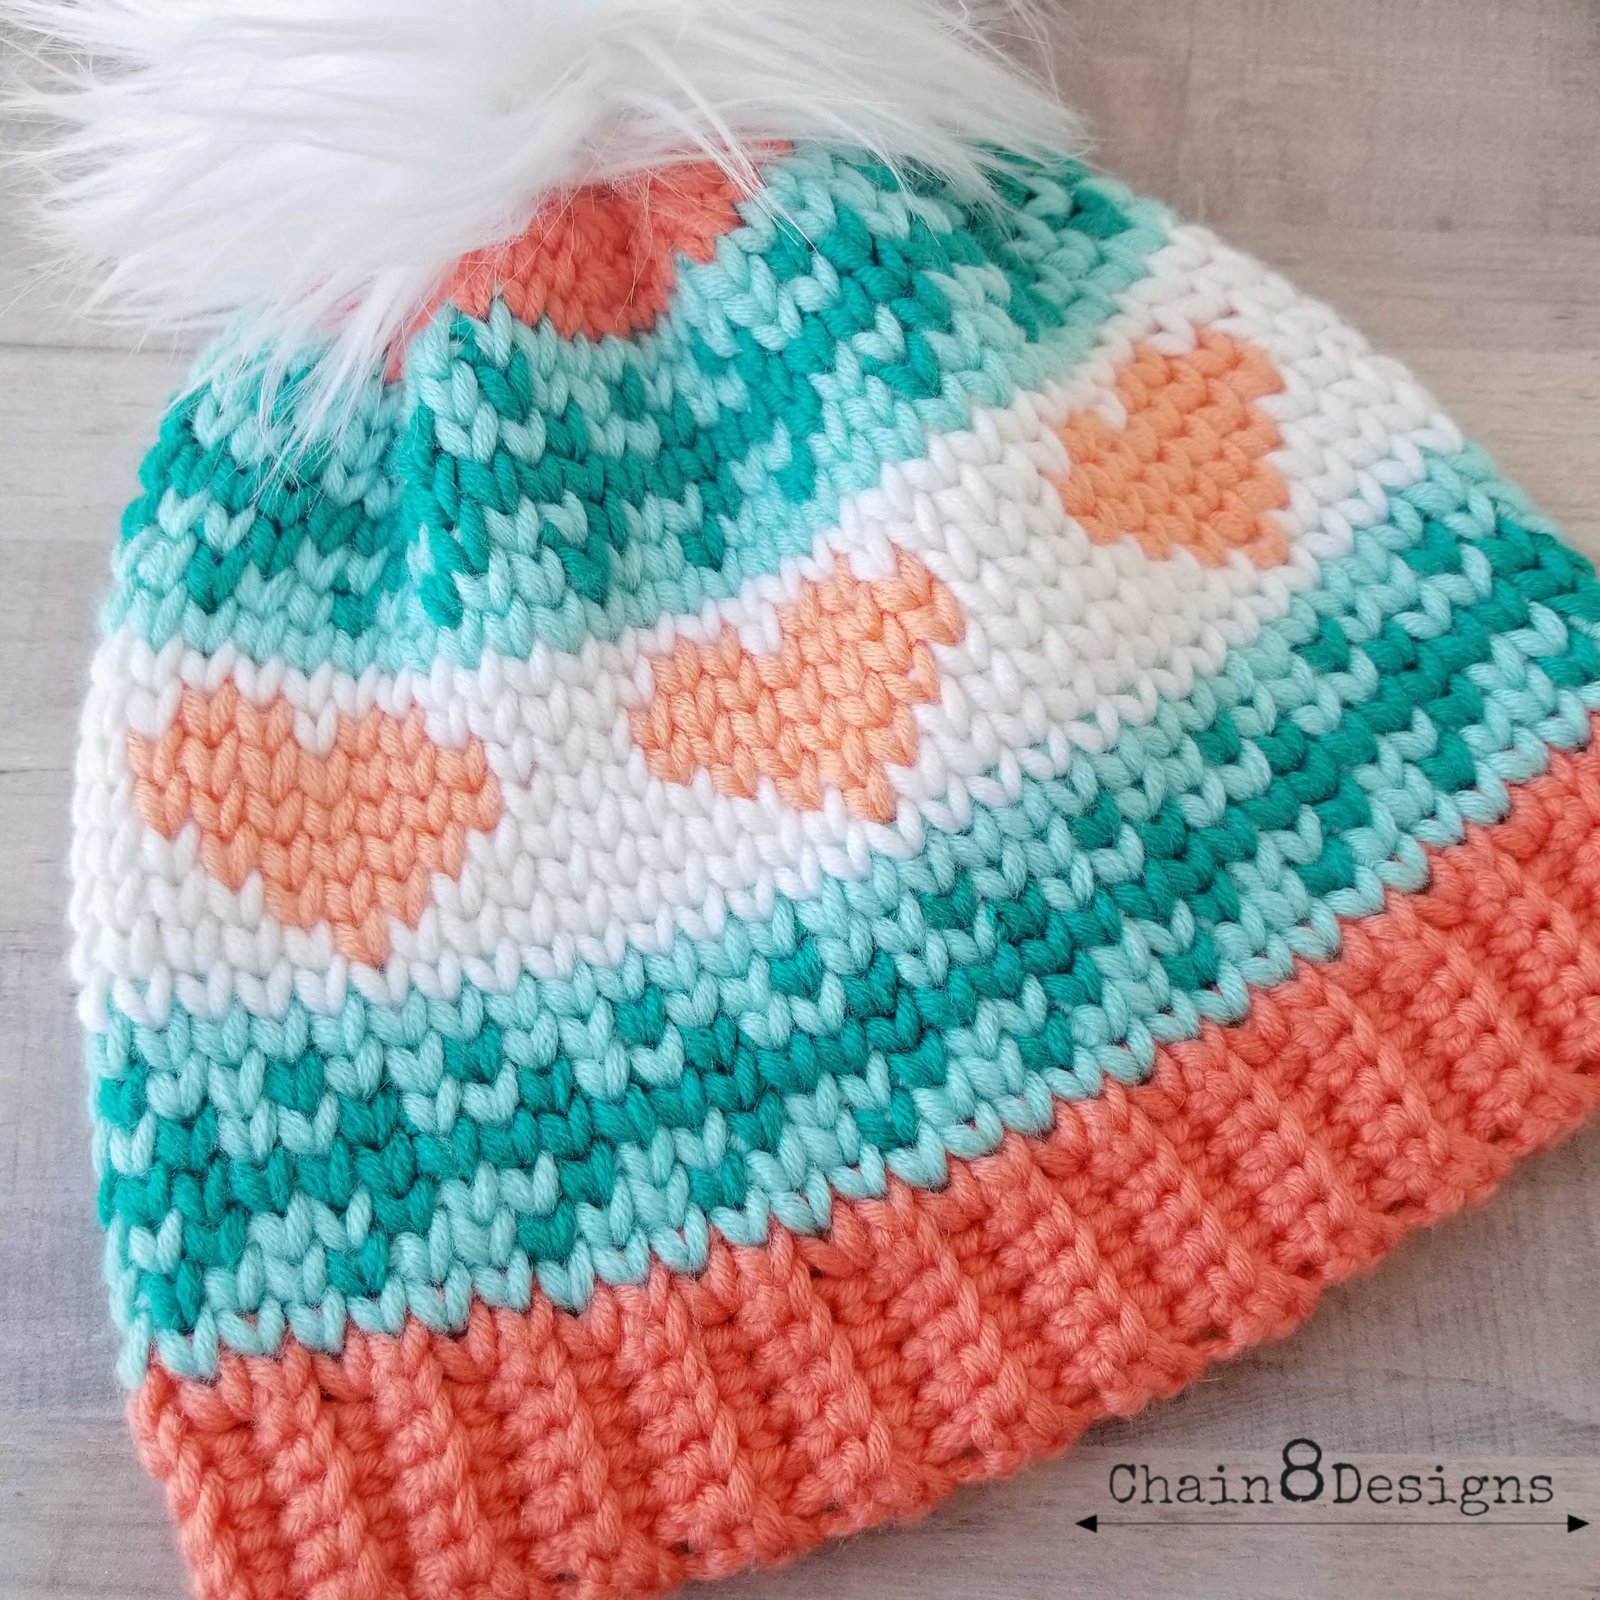
This particular chart is for the You’re Peachy Keen Beanie.
This chart shows the foundation row (starting at 1/1). This is the row of tradition single crochet that will be the foundation for the rest of your waistcoat stitches. Not every chart will show this row. Refer to your pattern to see if it is included in the chart.
Each square on the chart represents one waistcoat stitch. You start working the chart in the bottom right-hard corner at 1/1. You will follow the chart from right to left and top to bottom.
JOINING ROUNDS WHILE WORKING FROM A CHART
Unless your pattern says otherwise, you want to make sure that the slip stitch and chain 1 are the same color as either the first or last stitch of the next round [I usually prefer to do the first]. Whichever one you pick, make sure to keep it consistent through the whole project. This combined with pulling both stitches tightly will help with making your seam nearly invisible.
CREATING YOU OWN CHARTS
Creating your own charts is a great way to fly your creative flag. I know some people use graph paper and colored pencils or a program like photoshop to create their charts. I personally use Stitch Fiddle. You can make a few charts for free or it’s a little over $20 a year to make unlimited charts.
Something to keep in mind, if you use a ton of colors on one row, you will have to carry and crochet over the unused yarn which can make you item bulky. For my hats, I tend to use no more than three colors on a row, but I usually prefer to keep it at two.
You should now have all the information you need to start using this easy and versatile stitch. Leave a comment if you have any questions…I’m always happy to help! I hope that you love this stitch as much as I do. If you make a project with the waistcoat stitch, I would love to see it. Tag me on Instagram @chain8designs.
I have a bunch of patterns in the works that use the waistcoat stitch so if you’re not already, please subscribe below to be notified as soon as new patterns are available. Till next time friends…HAPPY HOOKING!





Love you knit stitch, going to try it
It really is a great little stitch…have fun!